The Ultimate Strawberry Jam Recipe: Sweet and Delicious
Introduction: A Taste of Nostalgia
Imagine the sweet aroma of strawberries wafting through your kitchen, evoking memories of sunlit mornings and family breakfasts. Strawberry jam isn’t just a spread; it’s a journey back to simpler times, a reminder of the warmth and love that comes with homemade goodness. In this guide, you’ll discover how to create the ultimate strawberry jam recipe, capturing the essence of those cherished moments in every jar. Whether you’re a seasoned jam maker or a curious beginner, this recipe will guide you to a sweet, delicious success.
Table of Contents
Why Make Your Own Strawberry Jam?
Freshness and Flavor
When you make your own strawberry jam, you’re in control of the ingredients. You can select the freshest strawberries, ensuring a vibrant and authentic flavor that store-bought versions often lack. Homemade jam allows you to adjust the sweetness and texture to your liking, creating a personalized taste experience.
Healthier Option
Store-bought jams can be laden with preservatives and artificial ingredients. By making your own, you can avoid these additives and opt for natural sweeteners if desired. This not only makes your jam healthier but also more flavorful and true to the taste of fresh strawberries.
Cost-Effective
Making jam at home can be more economical, especially during strawberry season when prices drop. By purchasing strawberries in bulk and preserving them, you can enjoy the taste of summer all year round without the premium price tag of gourmet jams.
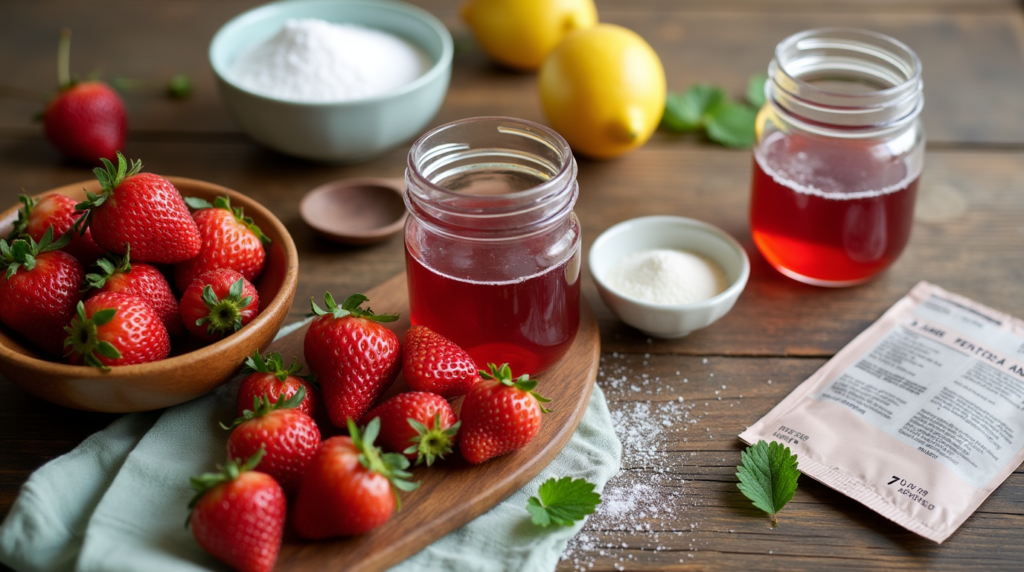
Essential Ingredients and Tools
Ingredients
To create the perfect strawberry jam, you’ll need a few simple ingredients. Here’s what you’ll need:
| Ingredient | Quantity |
|---|---|
| Fresh Strawberries | 2 lbs |
| Granulated Sugar | 4 cups |
| Lemon Juice | 1/4 cup |
| Pectin (optional) | 1 packet |
These ingredients form the base of your jam, with the option to add pectin for a firmer set. The lemon juice not only adds a hint of tartness but also helps preserve the jam.
Tools
Having the right tools on hand will make the process smoother and more efficient. Here’s a list of essential tools:
- Large Pot: For cooking the jam.
- Wooden Spoon: For stirring the mixture.
- Canning Jars and Lids: For storing the finished product.
- Funnel: To help pour the jam into jars without spills.
- Ladle: For transferring the jam from pot to jar.
Step-by-Step Strawberry Jam Recipe
Preparing the Strawberries
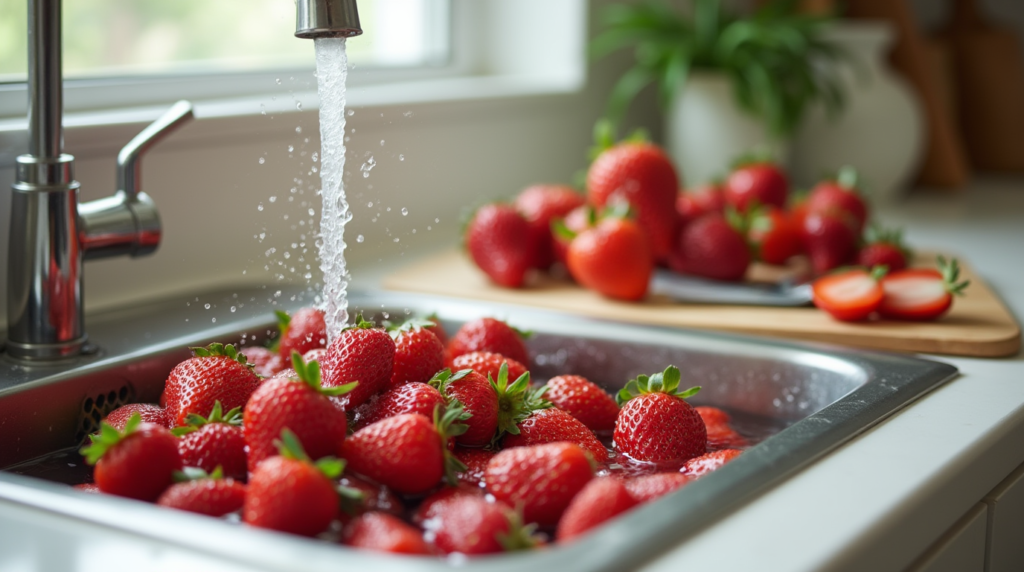
- Wash and Hull: Begin by rinsing the strawberries under cold water to remove any dirt or pesticides. Use a paring knife to hull the strawberries, removing the green stems and leaves.
- Mash the Berries: Place the strawberries in a large bowl and use a potato masher to crush them. Leave some chunks for texture, as this will give your jam a more rustic, homemade feel.
Cooking the Jam
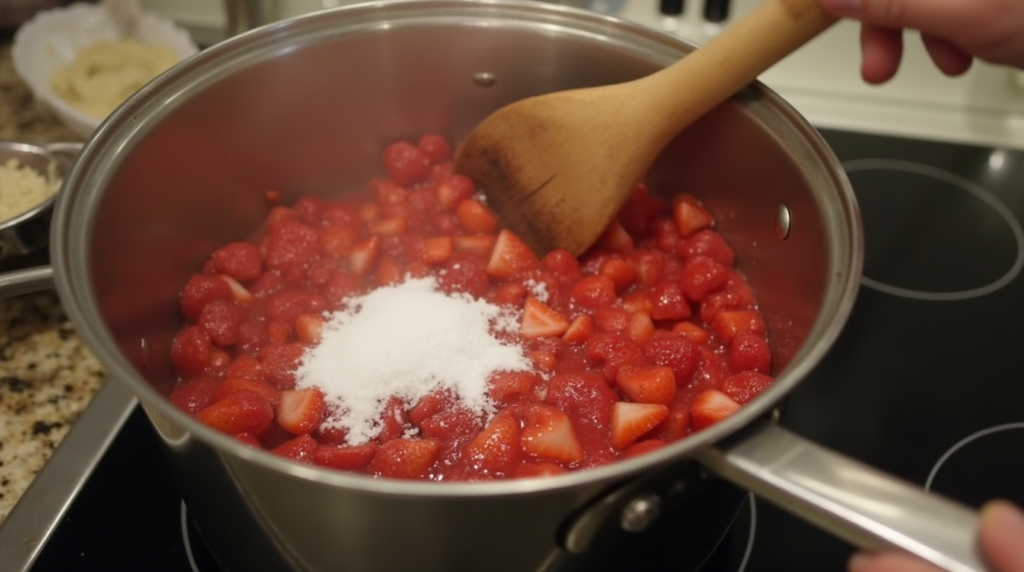
- Combine Ingredients: In a large pot, mix the mashed strawberries, granulated sugar, and lemon juice. Stir the mixture until the sugar begins to dissolve.
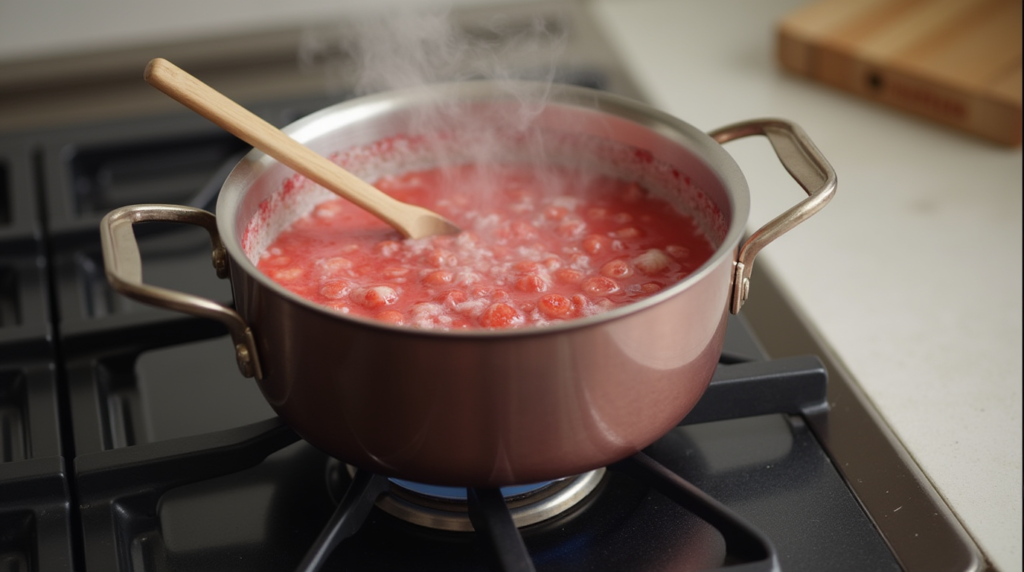
- Heat the Mixture: Place the pot over medium heat and bring the mixture to a boil, stirring constantly to prevent sticking. The goal is to reach a rolling boil, where the mixture bubbles vigorously and cannot be stirred down.
- Add Pectin: If you prefer a firmer jam, add a packet of pectin to the boiling mixture. Stir well and boil for another minute to activate the pectin.
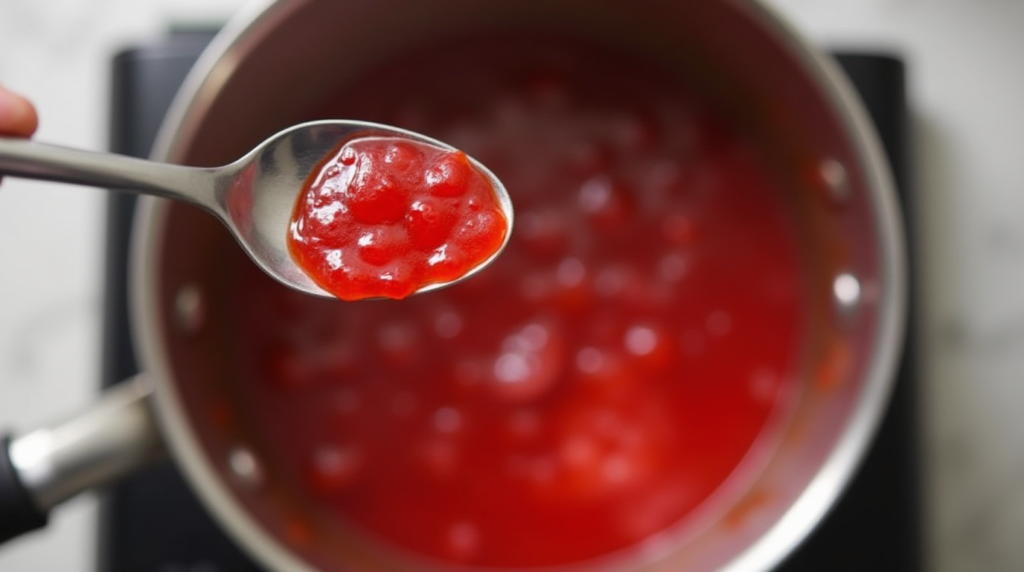
- Test for Doneness: To check if your jam is ready, use the spoon test. Dip a cold spoon into the jam and let it cool for a few seconds. If it thickens and holds its shape on the spoon, it’s ready. If not, continue boiling and test again.
Canning the Jam
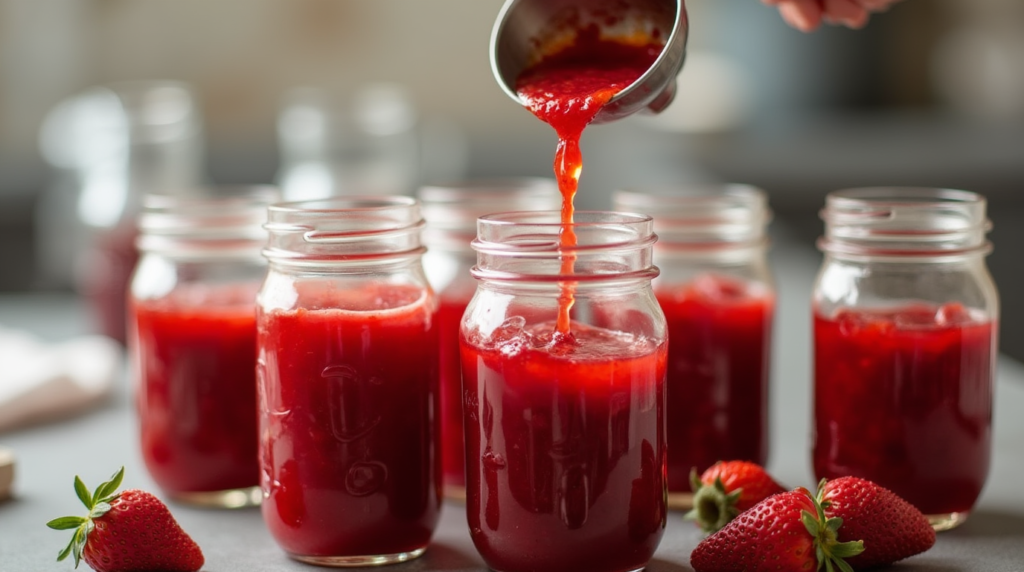
- Sterilize Jars: Before filling, sterilize your canning jars and lids by boiling them in water for 10 minutes. This step is crucial to prevent bacteria growth and ensure a long shelf life.
- Fill the Jars: Use a funnel and ladle to pour the hot jam into the sterilized jars, leaving about 1/4 inch of headspace at the top. This space allows for expansion during processing.
- Seal and Process: Wipe the rims of the jars with a clean, damp cloth to remove any residue. Place the lids on the jars and screw on the bands until fingertip-tight. Process the jars in a boiling water bath for 10 minutes to seal them properly.
Tips for Perfect Strawberry Jam
Choosing the Right Strawberries
For the best flavor, choose ripe, fragrant strawberries. They should be bright red and firm, with no signs of bruising or mold. Overripe or damaged berries can affect the taste and texture of your jam, so it’s essential to select the best quality fruit available.
Adjusting Sweetness
Taste is subjective, and you may prefer your jam sweeter or less sweet. Before boiling, take a moment to taste the mixture and adjust the sugar as needed. If you’re looking for a healthier alternative, consider using honey or agave syrup, which can provide a unique flavor profile while reducing refined sugar content.
Storing Your Jam
Once your jam is sealed and processed, store unopened jars in a cool, dark place, such as a pantry or cupboard. Properly canned strawberry jam can last up to a year. After opening, refrigerate the jar and consume the jam within a month for the best flavor and freshness.
Conclusion: Enjoy Your Homemade Strawberry Jam
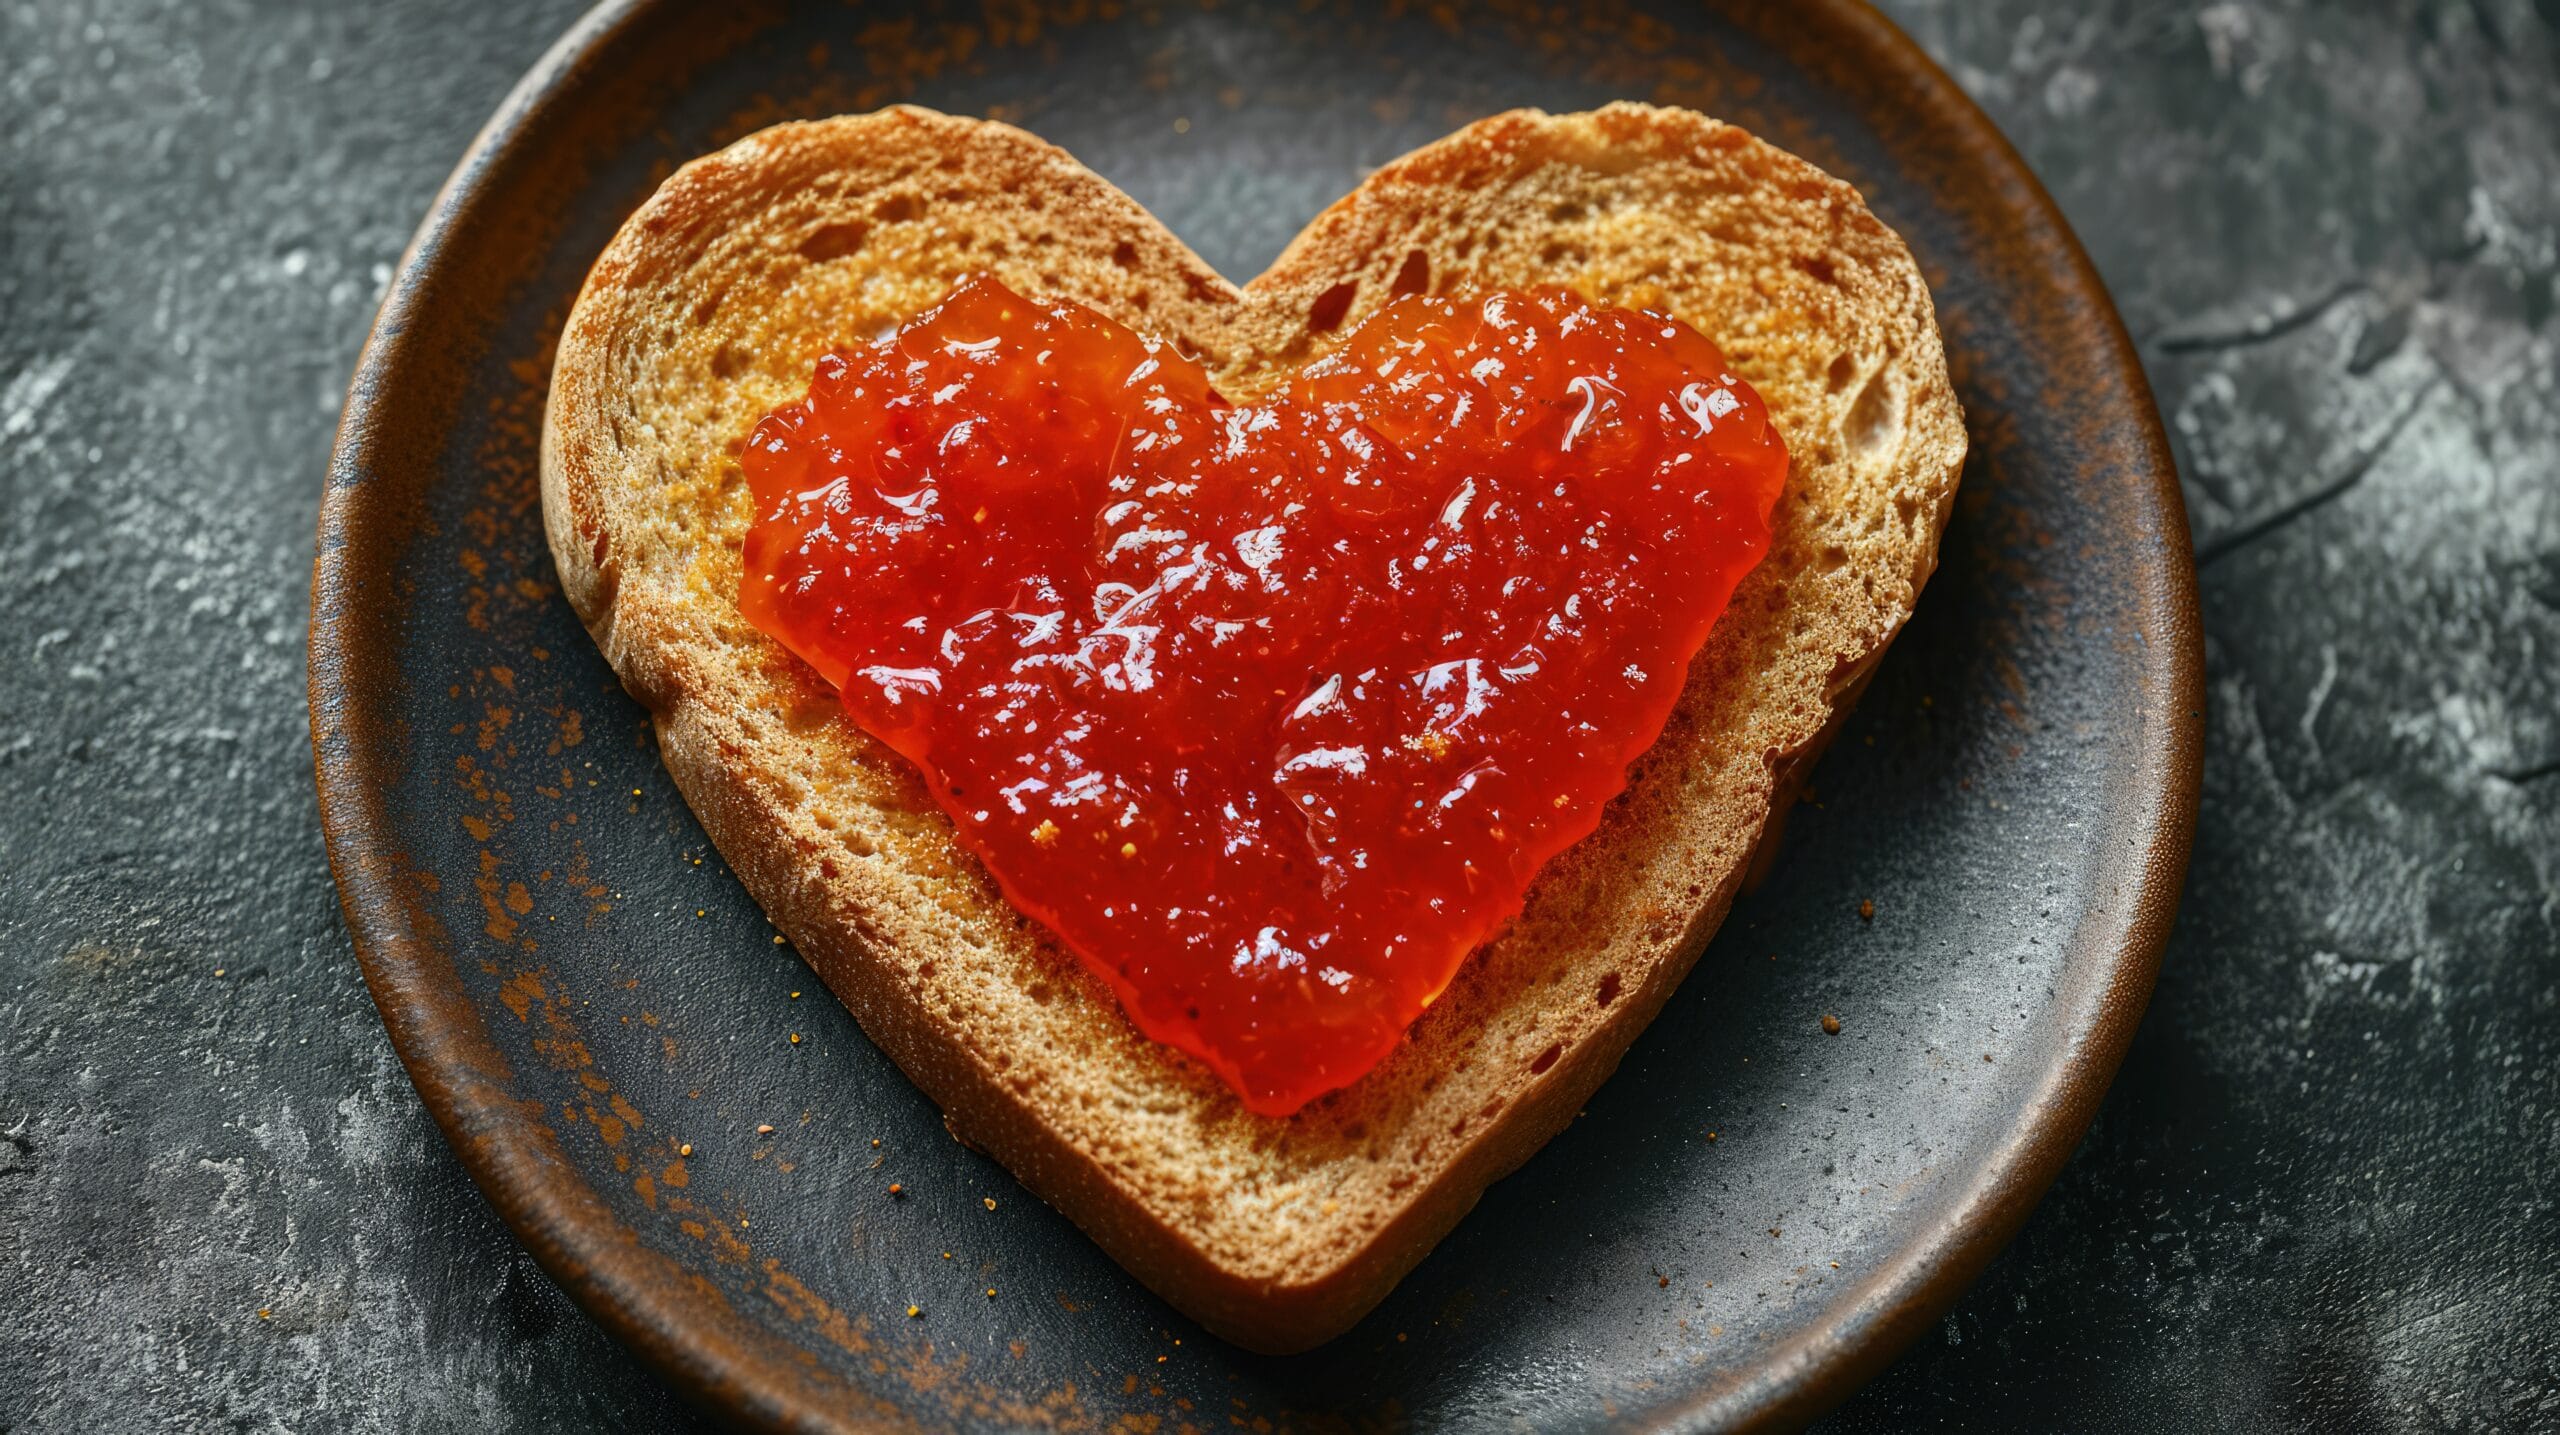
Creating your own strawberry jam recipe is not just a culinary project; it’s an experience that brings the taste of summer into your home all year long. With this ultimate recipe, you can savor the sweet, delicious flavors of fresh strawberries, capturing the essence of those cherished memories in every bite. Whether you spread it on toast, use it in desserts, or gift it to friends and family, your homemade jam will surely delight.
So, roll up your sleeves, gather your ingredients, and embark on this delightful journey of making strawberry jam. You’ll not only enjoy the process but also relish the satisfaction of creating something truly special.
FAQ: Strawberry Jam Recipe
Can I use frozen strawberries for this recipe?
Absolutely! Frozen strawberries can be a convenient alternative. Just ensure you thaw them completely and drain any excess liquid before using them in your jam recipe. This will help maintain the right consistency.
How can I make my jam thicker?
If you prefer a thicker jam, consider increasing the amount of pectin you use or cooking the mixture longer to reduce the liquid content.