How to Make Pista Kulfi in 5 Simple Steps: A Quick Guide
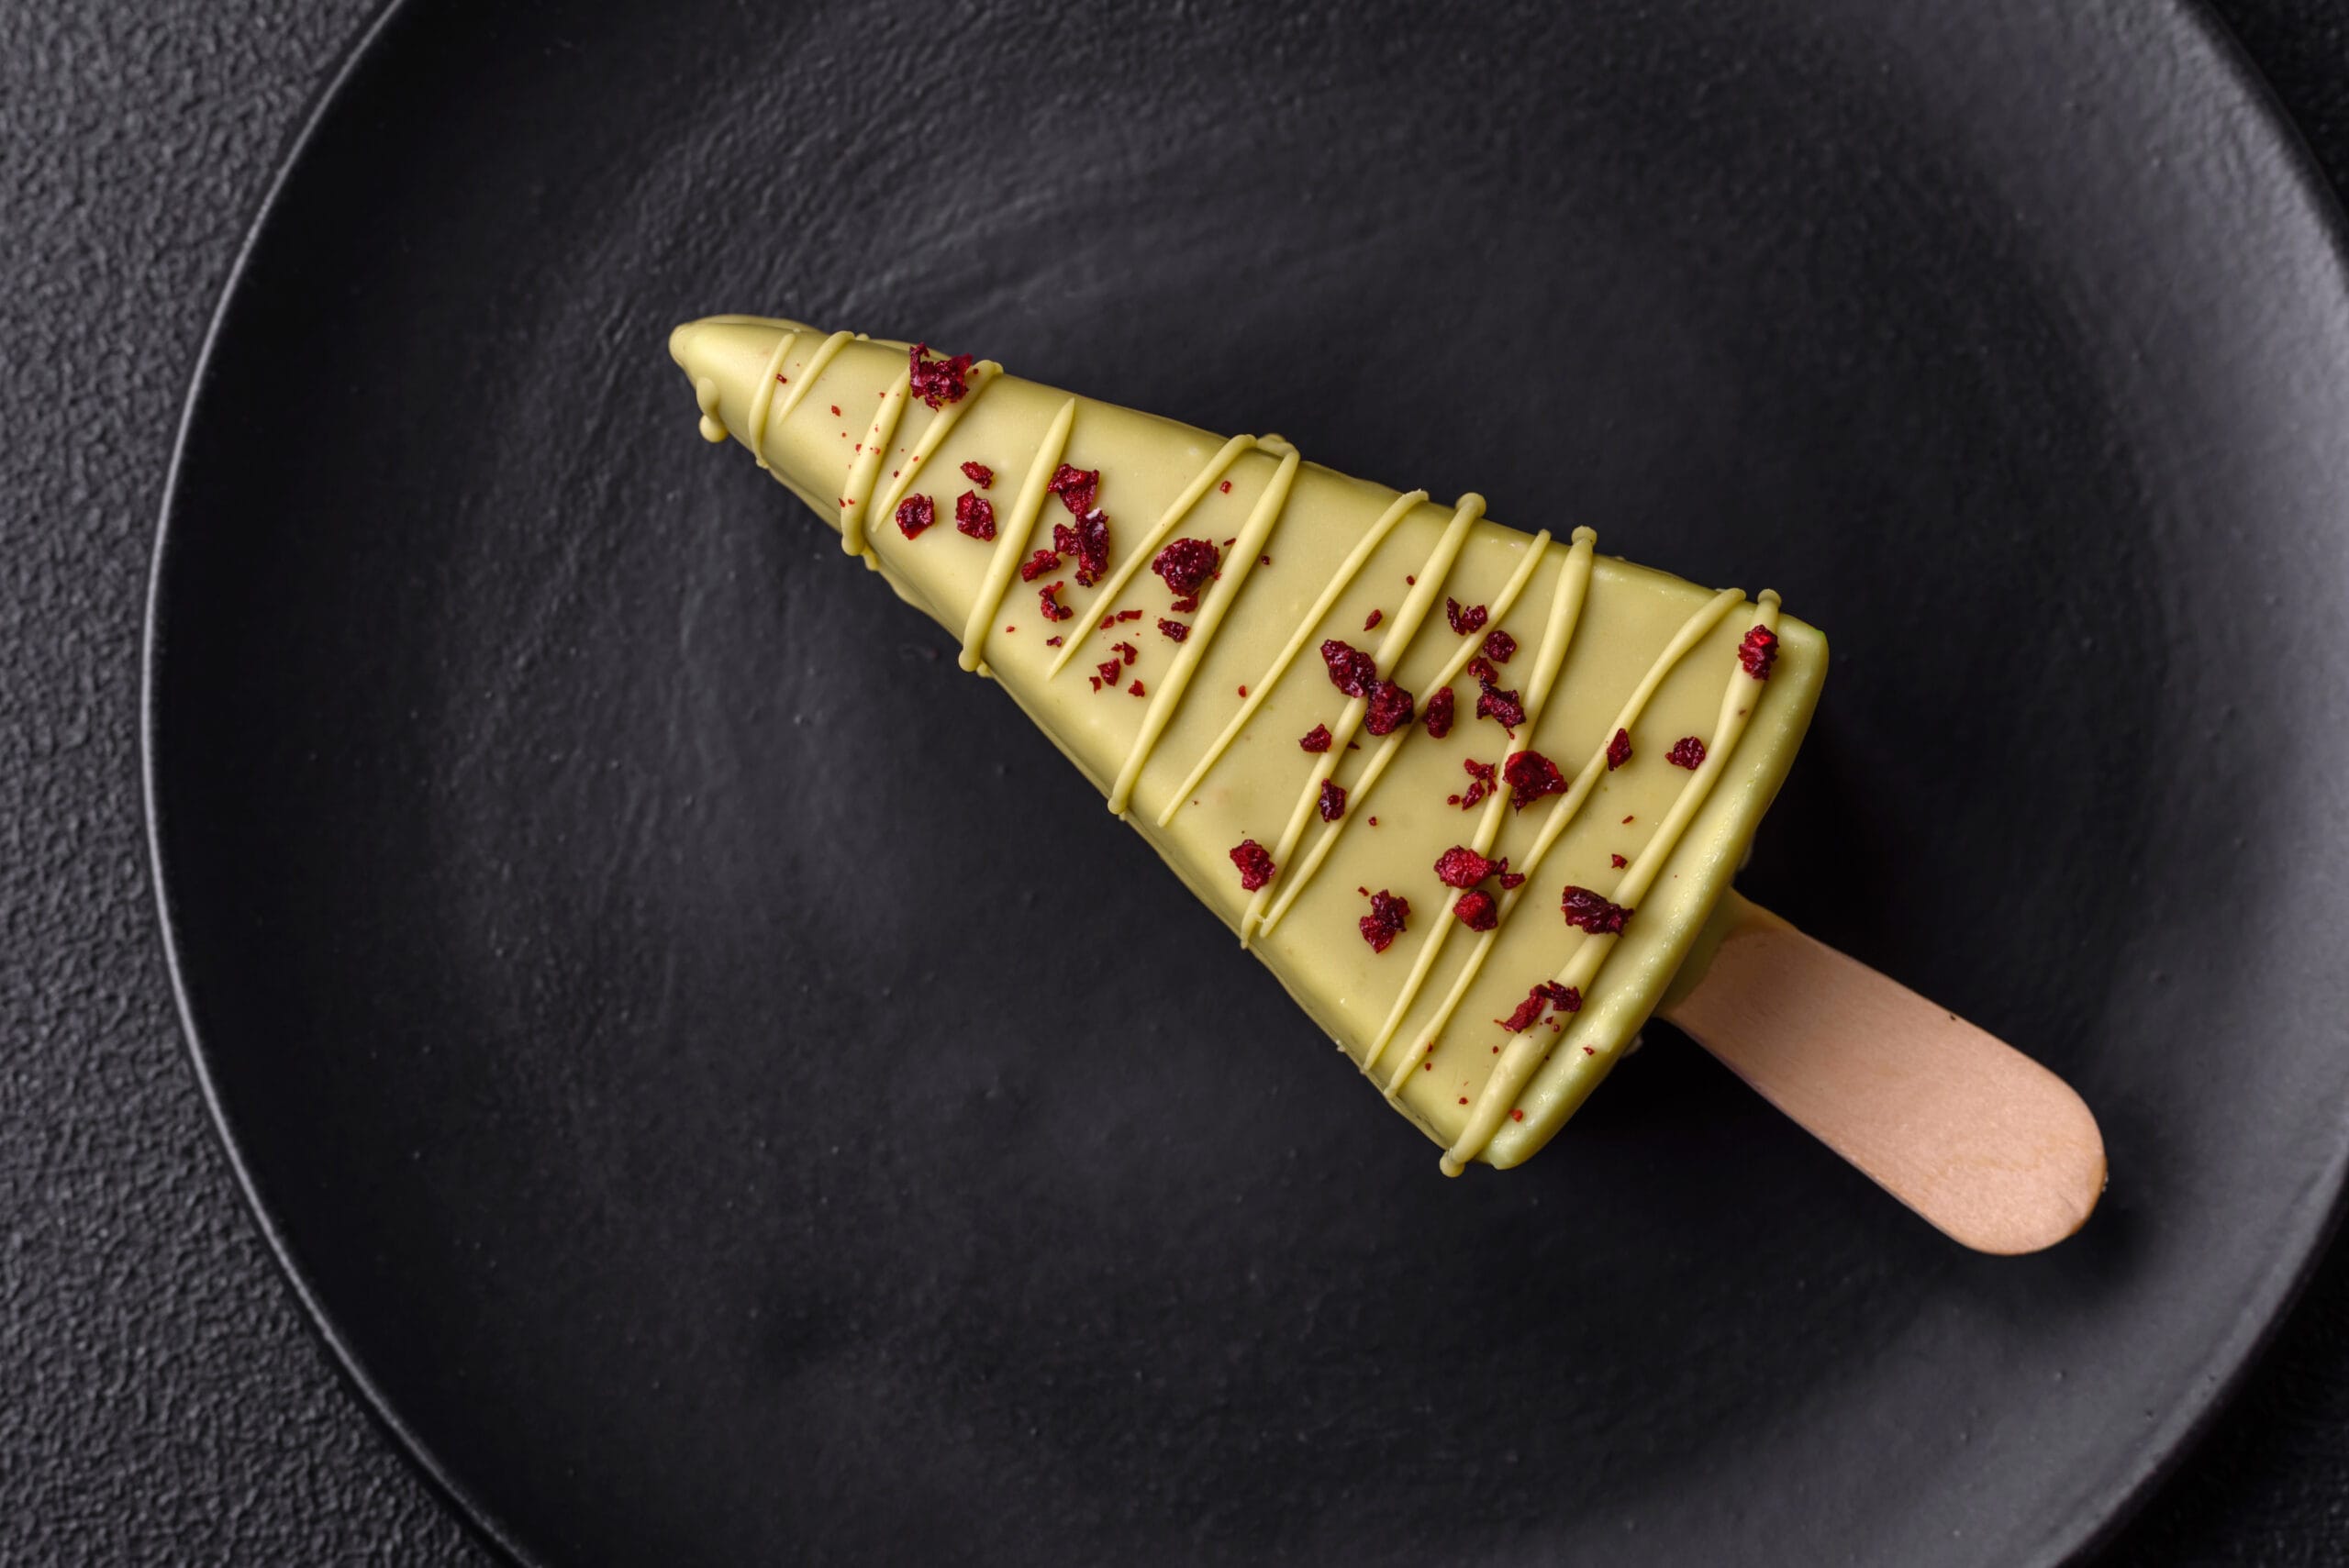
There’s something truly magical about indulging in a creamy, flavorful dessert that’s been passed down through generations. Pista Kulfi, a beloved traditional Indian frozen treat, is the epitome of indulgence with its nutty, rich taste and smooth texture. Whether you’re a seasoned home cook or a beginner, making Pista Kulfi at home is much easier than you might think. In just five simple steps, you can create a dessert that will not only impress your family and friends but also provide a taste of India’s sweet culinary heritage.
In this guide, we’ll walk you through each step, ensuring that you end up with a delicious, homemade Pista Kulfi that rivals any store-bought version. From gathering the right ingredients to the final freeze, let’s dive into the details of how you can make Pista Kulfi in no time!
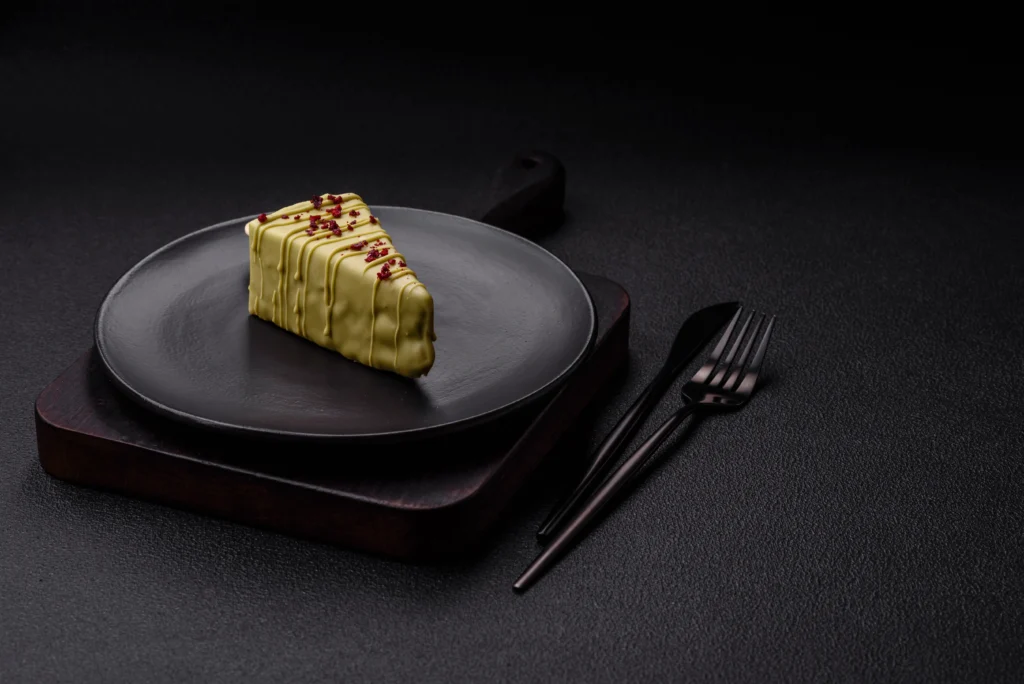
Table of Contents
What is Pista Kulfi? Why You Should Make It at Home
Before we begin, let’s take a moment to appreciate this fantastic dessert. Pista Kulfi is a traditional Indian ice cream that’s richer and denser than its Western counterpart. Made with pistachios, full-fat milk, sugar, and a blend of fragrant spices, Kulfi has a creamy, velvety texture that simply melts in your mouth.
One of the things that make Pista Kulfi so special is its unique preparation method. Unlike regular ice cream, which is churned to incorporate air, Kulfi is slow-cooked, resulting in a denser and creamier consistency. It’s often flavored with cardamom, saffron, and rose water, which adds an aromatic touch to every bite.
Making Pista Kulfi at home offers several benefits. You can customize the sweetness, skip the preservatives often found in store-bought varieties, and experiment with flavors that suit your personal taste. Plus, it’s a fun and rewarding process that allows you to enjoy this dessert any time you want, all while impressing guests with your culinary skills!
Ingredients You Need for Homemade Pista Kulfi
The beauty of making Pista Kulfi is that you don’t need a long list of complicated ingredients. Here’s what you’ll need to gather before you start:
| Ingredient | Quantity |
|---|---|
| Full-fat milk | 4 cups |
| Sugar | 1/2 cup |
| Pistachios (shelled) | 1/4 cup |
| Condensed milk | 1/2 cup |
| Cardamom powder | 1/2 tsp |
| Rose water (optional) | 1 tsp |
| Almonds (optional) | 2 tbsp (chopped) |
| Saffron (optional) | A pinch |
A Few Ingredient Tips:
- Full-fat milk is essential for a creamy and rich consistency. Using lower-fat milk will make the Kulfi less indulgent.
- Condensed milk is a key ingredient that helps thicken the mixture, giving it that perfect, creamy texture.
- You can skip rose water if you prefer a more subtle flavor, but it adds a lovely fragrance.
- If you’re looking to get more creative, you can add almonds or even a dash of pistachio essence for a deeper pistachio flavor.
How to Make Pista Kulfi in 5 Simple Steps
Now that you’ve gathered everything you need, let’s break down the process of making your own Pista Kulfi. These five steps are straightforward, and with a little patience, you’ll have the perfect homemade dessert.
Step 1: Prepare the Pistachios
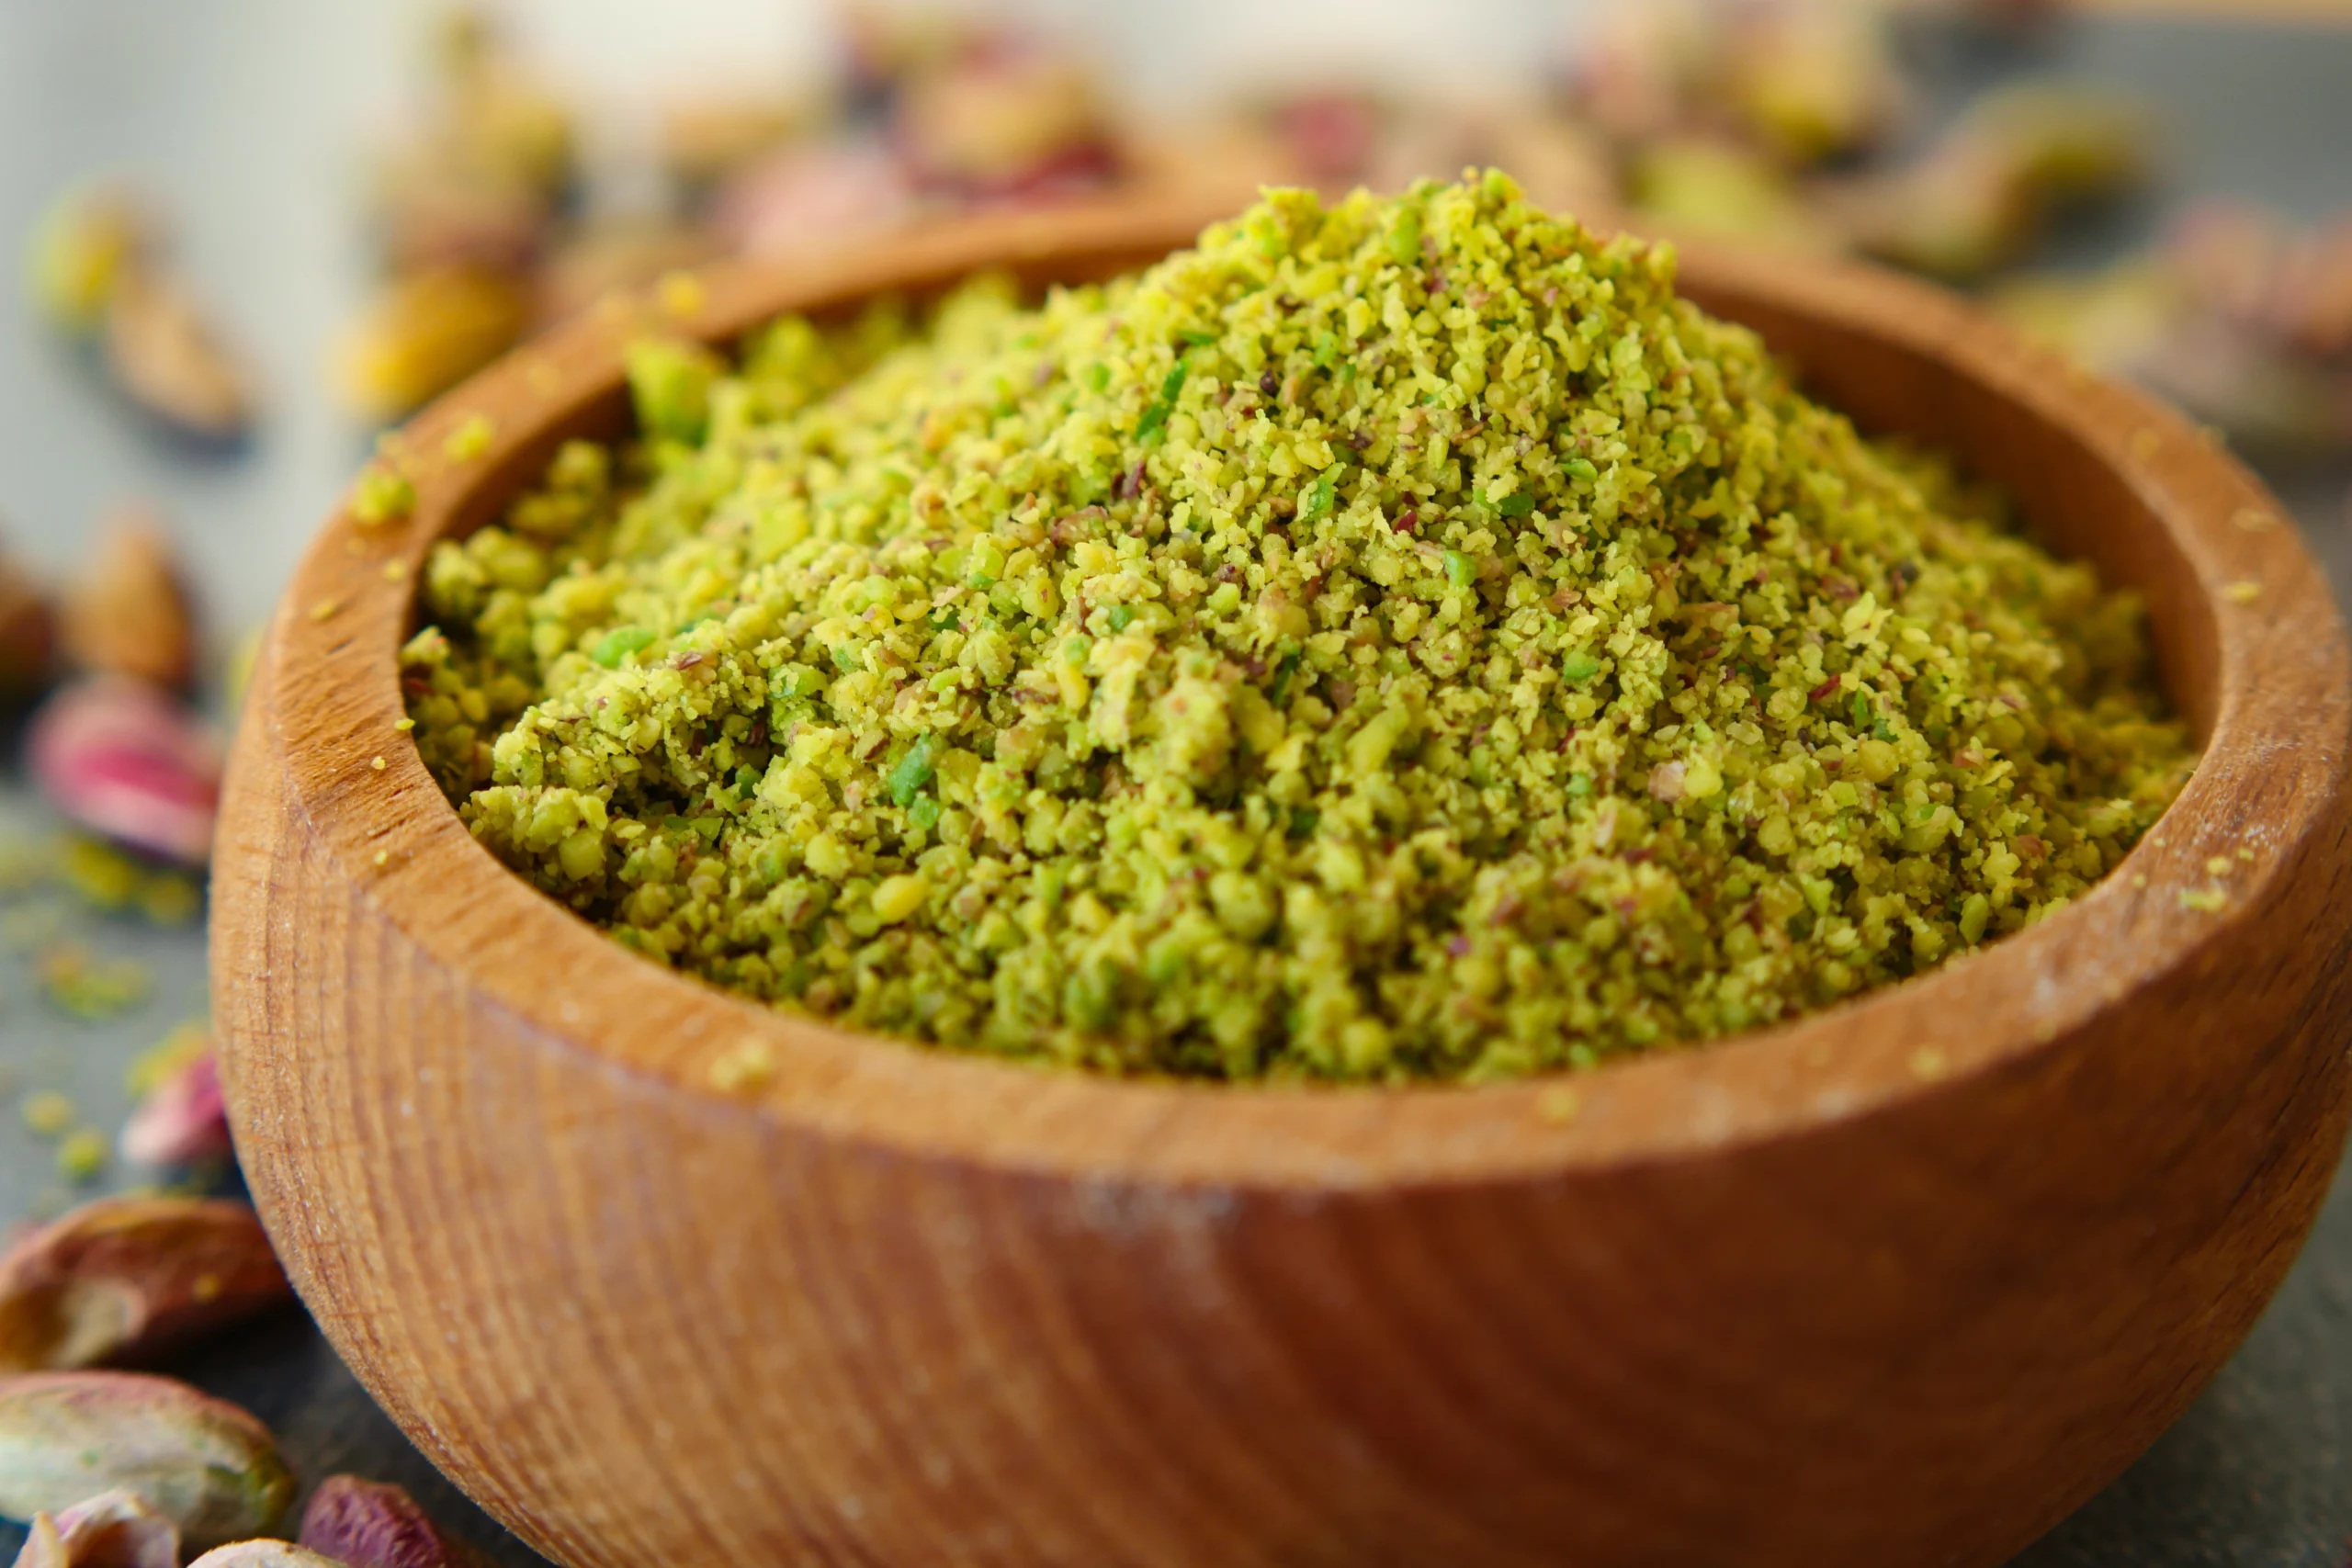
The first step is to prepare the pistachios that will give your Kulfi its signature flavor and texture. Start by soaking the pistachios in warm water for about 20 minutes. This makes it easier to peel the skins off.
Once the skins are removed, grind the pistachios into a coarse paste using a food processor or a mortar and pestle. You want a smooth but slightly chunky texture, as this will give the Kulfi its delightful nutty bits. Set the paste aside for the next step.
Tip: You can adjust the texture of the pistachios depending on how smooth or chunky you like your Kulfi. Some prefer a finer paste, while others enjoy a bit more crunch.
Step 2: Prepare the Milk Mixture
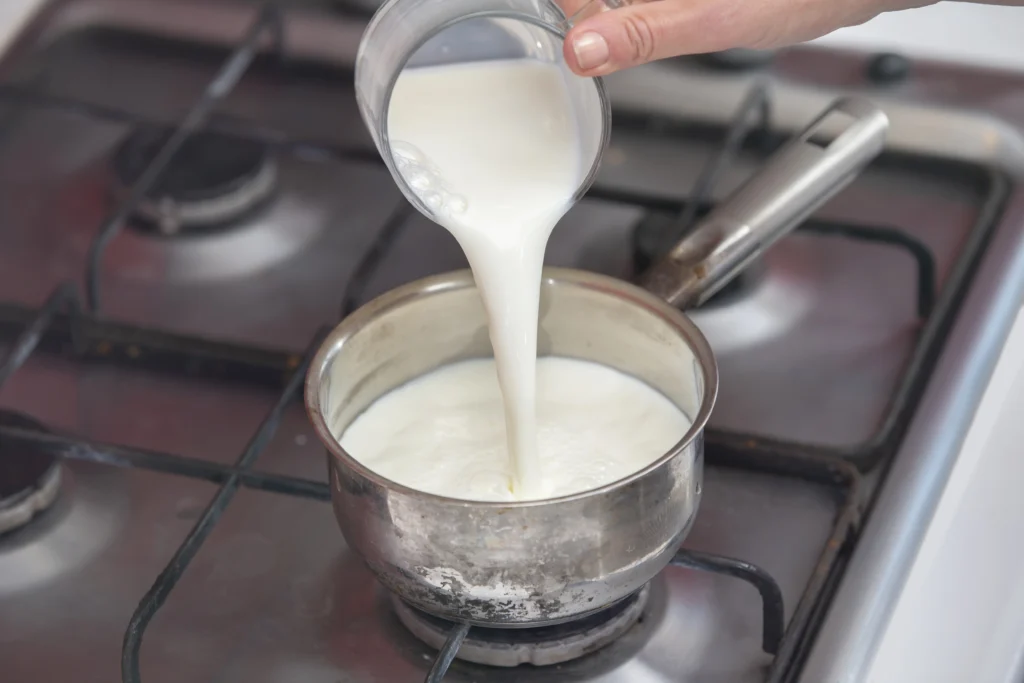
Now it’s time to create the rich, creamy base for your Kulfi. In a large pan, heat the full-fat milk on medium heat. Stir it regularly to prevent it from sticking to the bottom of the pan. As the milk begins to boil, reduce the heat and allow it to simmer, stirring frequently.
You’ll need to reduce the milk by about three-quarters, which will help concentrate the flavor and make it thicker. Once the milk has reduced, add the condensed milk and sugar, stirring continuously to ensure they dissolve fully into the mixture.
Tip: Be patient with this step. The slow cooking process helps create the creamy texture that makes Kulfi so special.
Step 3: Blend the Pistachios with the Milk
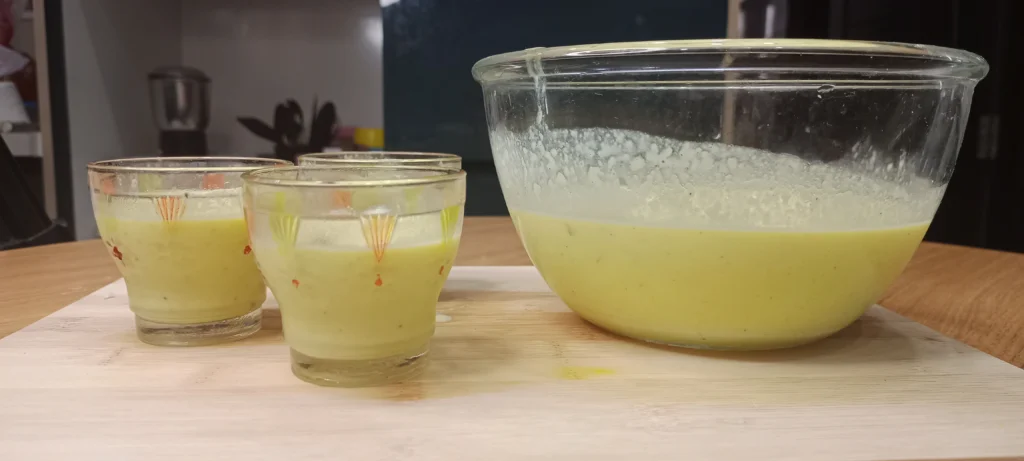
Once your milk mixture is thickened and reduced, it’s time to add the pistachio paste. Stir in the pistachio paste, cardamom powder, and saffron (if using). The cardamom gives a lovely aromatic flavor, while saffron adds a beautiful golden color to your Kulfi.
Keep stirring the mixture until it’s smooth and everything is well combined. Allow it to cool for a few minutes before moving on to the next step.
Tip: If you like your Kulfi to have a floral fragrance, a teaspoon of rose water is a great addition here.
Step 4: Freeze the Kulfi
Now for the fun part! Pour the milk-pistachio mixture into kulfi molds or small cups. If you don’t have molds, small disposable cups work just as well. Be sure to leave some space at the top to allow for expansion as the Kulfi freezes.
Cover the molds with plastic wrap or lids, and place them in the freezer. Freeze the Kulfi for at least 6 hours, but overnight is ideal to ensure that it’s firm and ready to serve.
Tip: If you’re using small cups, insert wooden sticks halfway through the freezing process to create the traditional Kulfi shape.
Step 5: Serve and Enjoy
After the Kulfi has frozen solid, it’s time to enjoy your homemade treat. To remove the Kulfi from the molds, briefly run warm water over the outside of the molds. This will loosen the Kulfi and allow it to slide out easily.
Garnish with some chopped pistachios, almonds, or a few strands of saffron to make it even more beautiful. Serve immediately, and enjoy the creamy, nutty goodness of your homemade Pista Kulfi.
Tip: For the best texture, let the Kulfi sit for a couple of minutes at room temperature before serving.
Pro Tips for Perfect Pista Kulfi Every Time
To ensure that your Pista Kulfi comes out perfectly, here are a few extra tips:
- Use full-fat milk for a richer, creamier texture.
- Grind the pistachios just enough to retain texture, but don’t make it too fine.
- Be patient while reducing the milk—it’s the key to achieving the right consistency.
- Feel free to get creative by adding flavors like rose water, saffron, or almond slivers for a personalized touch.
- Let your Kulfi freeze overnight for the best results.
Frequently Asked Questions (FAQ) About Pista Kulfi
What is the difference between Kulfi and ice cream?
Kulfi is much denser than regular ice cream because it’s not churned. The slow cooking process helps create a thick, rich texture, unlike the airy texture of traditional ice cream.
Can I make Pista Kulfi without condensed milk?
Yes! If you prefer a healthier version, you can substitute condensed milk with regular sugar and adjust the milk accordingly to thicken the mixture.
How long does Pista Kulfi last in the freezer?
If stored in an airtight container, your homemade Pista Kulfi can last up to two weeks in the freezer.
Can I make Pista Kulfi vegan?
Absolutely! Use coconut milk or almond milk in place of dairy milk, and coconut cream instead of condensed milk to create a rich and creamy vegan version of Pista Kulfi.
Conclusion
Making Pista Kulfi at home is a fun and satisfying way to bring a piece of India’s sweet culinary tradition into your kitchen. By following these simple steps, you’ll be able to create a creamy, nutty dessert that everyone will love. Whether it’s a special occasion or a casual treat, your homemade Pista Kulfi will always be a hit. So, grab your ingredients, roll up your sleeves, and enjoy the process—because there’s nothing better than indulging in a dessert made with love!
Ready to make your own Pista Kulfi? Start today and share the joy of this delicious homemade treat with your loved ones!

