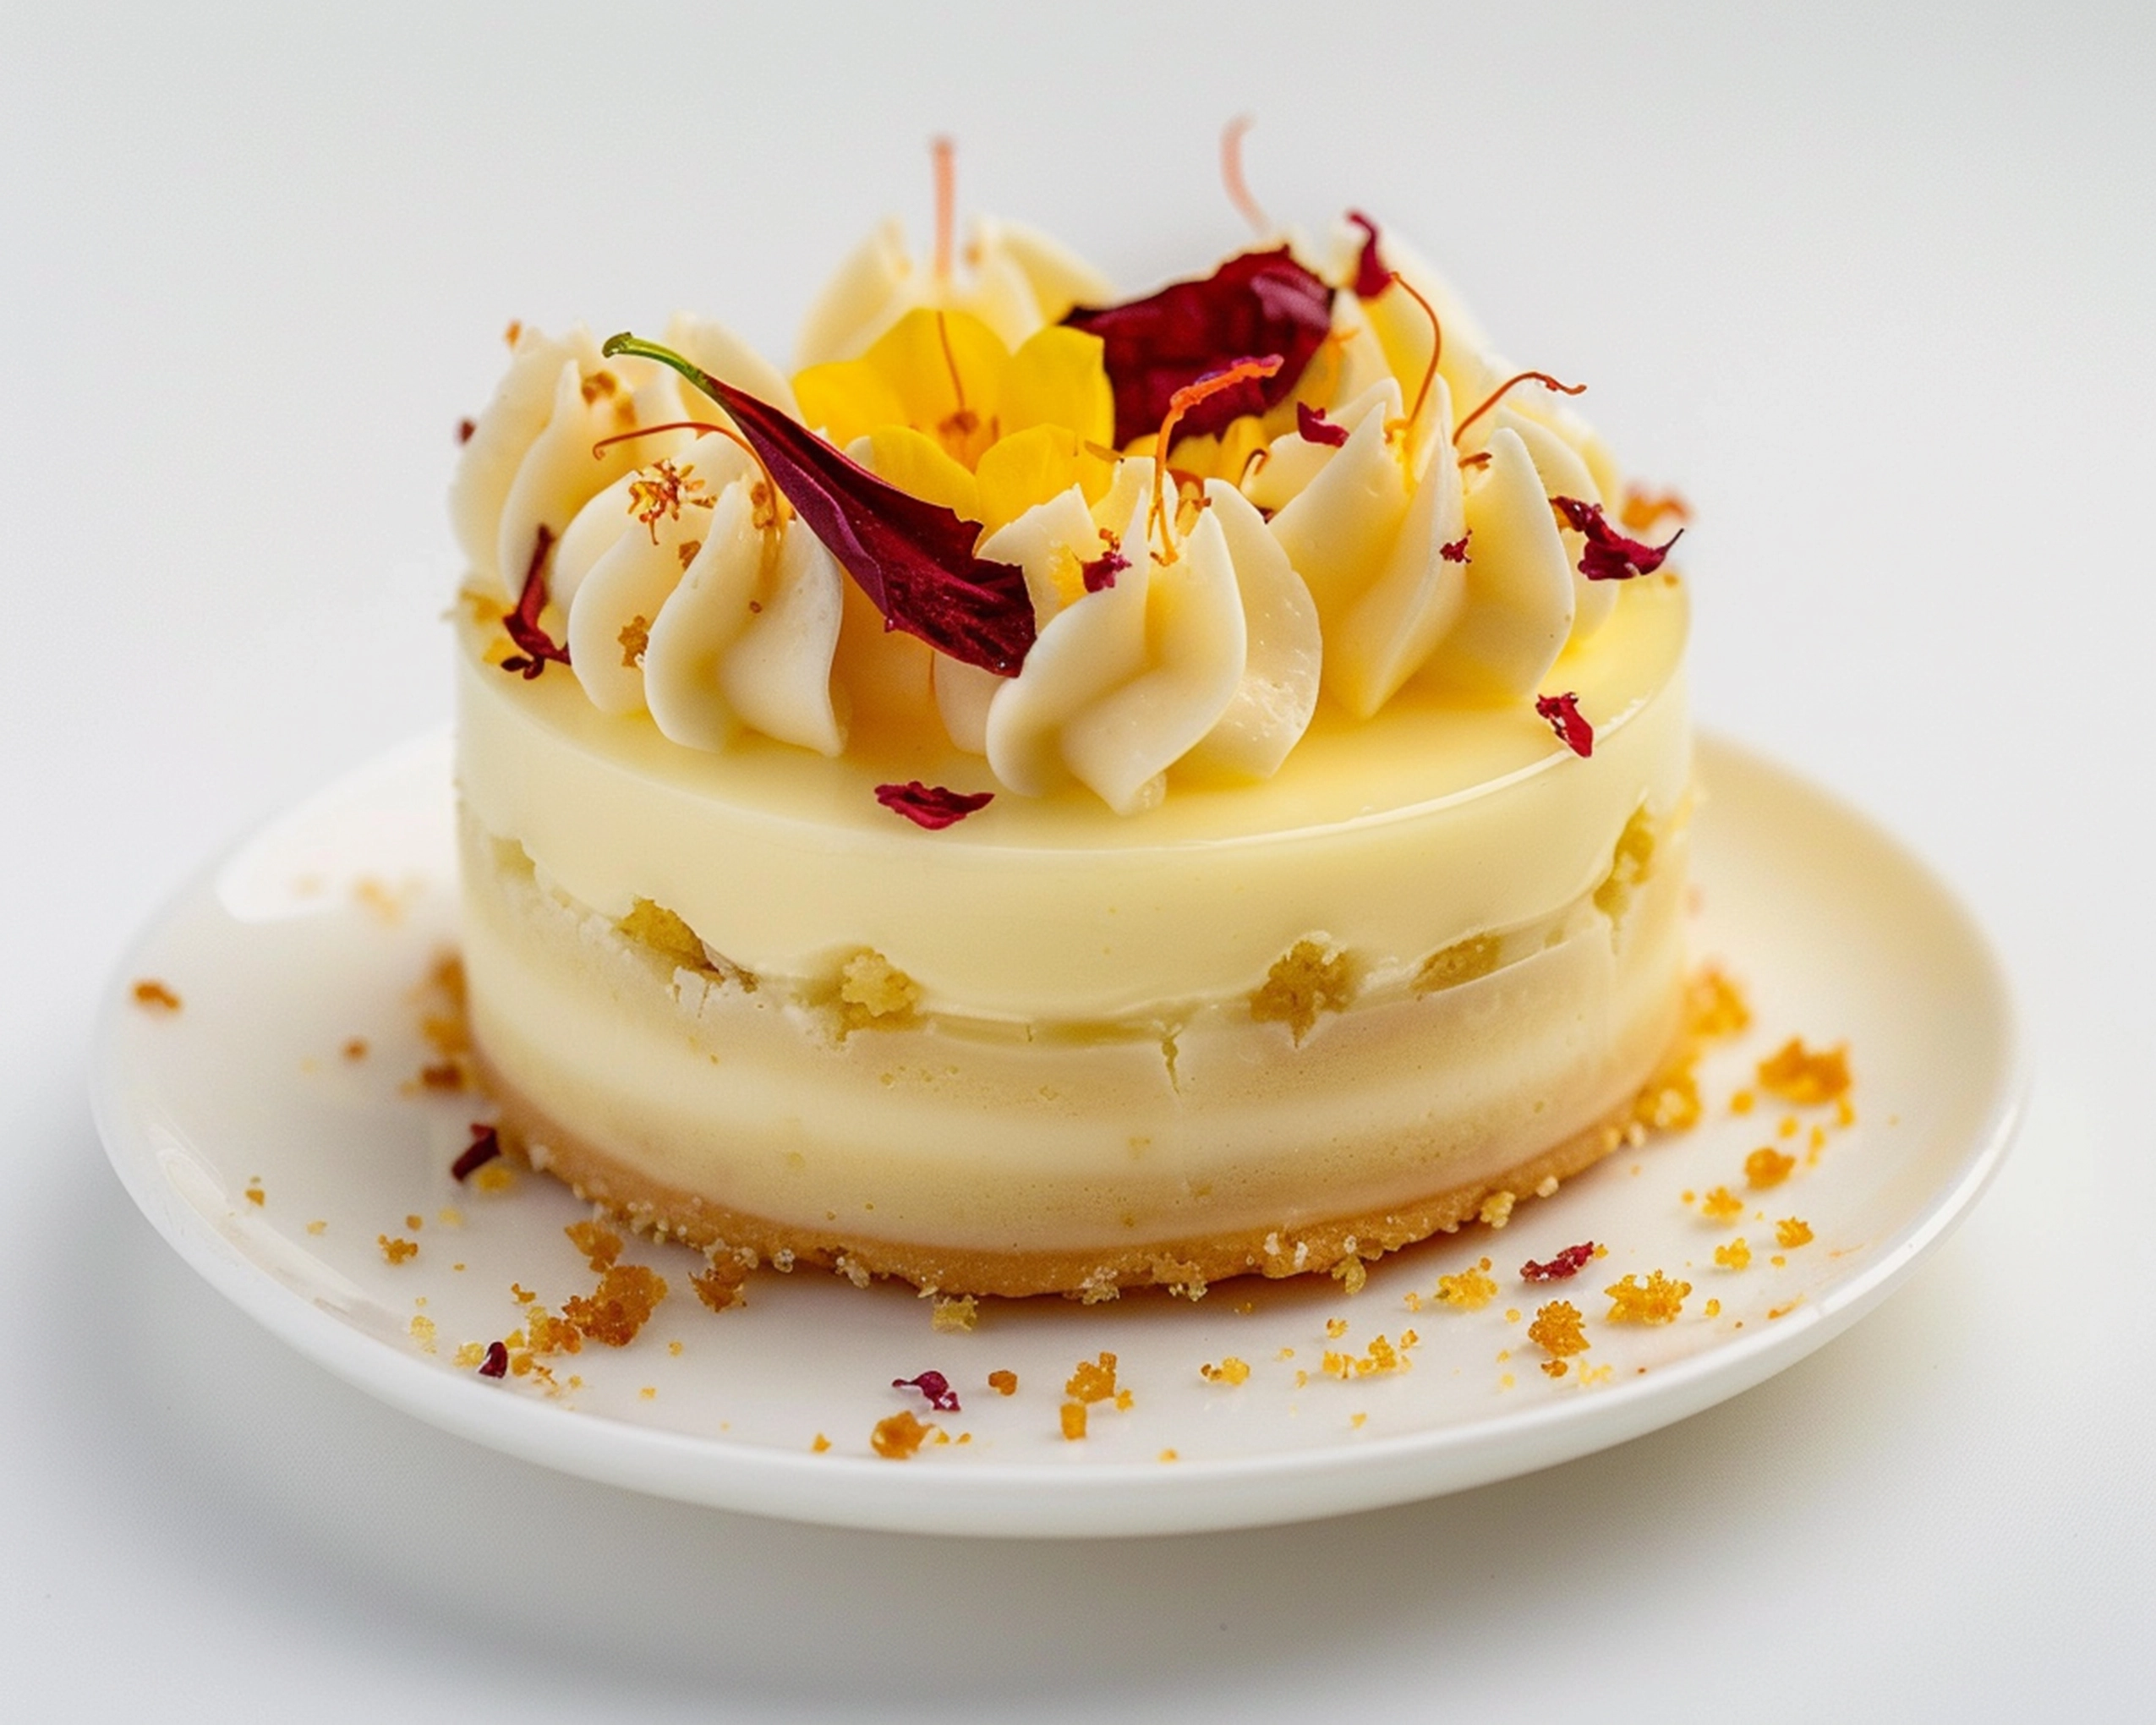
The Secret to Making a Rasmalai Cake

Introduction: A Sweet Fusion of Tradition and Modernity
Imagine this: the delicate creaminess of Rasmalai combined with the rich, moist layers of a beautifully baked cake. If you’re someone who loves indulging in Indian desserts and has a penchant for cakes, this heavenly fusion is bound to captivate your taste buds. But here’s the secret—creating the perfect Rasmalai Cake is easier than you think. With a few expert tips and a little patience, you’ll master the art of making a dessert that’s as delightful to look at as it is to eat. Let’s uncover the number 1 secret to making this masterpiece at home.
Table of Contents
Ingredients for the Perfect Rasmalai Cake
Cake Base Ingredients
To create a soft, spongy cake base that holds up to the creamy layers, gather the following:
| Ingredient | Quantity |
|---|---|
| All-purpose flour | 1.5 cups |
| Sugar | 1 cup |
| Baking powder | 1.5 tsp |
| Baking soda | 0.5 tsp |
| Butter (unsalted) | 0.5 cup |
| Milk | 0.75 cup |
| Vinegar | 1 tbsp |
| Vanilla extract | 1 tsp |
Rasmalai Layer Ingredients
The star of the show—Rasmalai—adds authentic flavors to your cake:
| Ingredient | Quantity |
| Rasmalai (store-bought or homemade) | 12 pieces |
| Rasmalai syrup (milk) | 1 cup |
| Saffron strands | Few |
| Cardamom powder | 0.5 tsp |
| Chopped pistachios | For garnish |
Step-by-Step Recipe for Rasmalai Cake
Preparing the Cake Base
Creating the base is the foundation of your Rasmalai Cake—get it right, and the rest will fall into place.
- Preheat the oven to 350°F (175°C). Grease and line two 8-inch round cake pans to prevent sticking.
- Mix wet ingredients: In a large mixing bowl, combine milk, vinegar, melted butter, and vanilla extract. Let the mixture sit for five minutes to activate.
- Combine dry ingredients: In another bowl, sift together the flour, sugar, baking powder, and baking soda to remove lumps.
- Prepare the batter: Gradually fold the dry mixture into the wet ingredients. Mix gently to maintain the batter’s fluffiness.
- Bake the cake: Divide the batter evenly between the pans and bake for 25-30 minutes or until a toothpick inserted into the center comes out clean.
- Cool the layers: Allow the cakes to cool completely on a wire rack before assembling.
Assembling the Rasmalai Cake
Once your cake layers are ready, the real magic begins. Here’s how to assemble your masterpiece:
- Trim the layers: Use a serrated knife to level the tops of the cake layers, ensuring they stack evenly.
- Soak the layers: Generously brush each cake layer with chilled Rasmalai syrup. This step infuses the cake with the rich, creamy flavor of Rasmalai without making it soggy.
- Layer with Rasmalai: Place one cake layer on a serving plate. Arrange Rasmalai pieces evenly across the top, then sprinkle a pinch of cardamom powder for an aromatic touch.
- Frosting: Spread a generous layer of whipped cream over the Rasmalai. Smooth it out with a spatula to create an even surface.
- Repeat: Place the second cake layer on top and repeat the soaking, layering, and frosting process.
- Decorate: Garnish with saffron strands, chopped pistachios, and a few additional Rasmalai pieces for a stunning finish.
The Number 1 Secret to a Perfect Rasmalai Cake
Mastering Syrup Soaking
The true secret to a perfect Rasmalai Cake lies in how you handle the syrup:
- Chilled Syrup: Always use chilled Rasmalai syrup to soak the cake layers. This not only enhances the flavor but also prevents the cake from becoming overly moist.
- Brush, Don’t Pour: Use a pastry brush to gently apply the syrup. This ensures even distribution and avoids saturation.
- Time is Key: Allow the soaked layers to rest for 10 minutes before adding frosting. This helps the syrup fully absorb into the cake.
Frequently Asked Questions About Rasmalai Cake
Can I use store-bought Rasmalai?
Yes, store-bought Rasmalai is a convenient option and works wonderfully in this recipe. Ensure it’s fresh and of good quality for the best results.
How do I prevent the cake from becoming soggy?
To avoid sogginess, apply the syrup sparingly with a brush and let it soak in gradually. Avoid pouring large amounts directly onto the cake.
Can I make this cake in advance?
Absolutely! Preparing the cake a day ahead allows the flavors to meld beautifully. Store it in the refrigerator and serve chilled for the best experience.
What’s the best way to store leftovers?
Cover the cake with plastic wrap or place it in an airtight container. Refrigerate for up to three days. Let it sit at room temperature for 15 minutes before serving.
Conclusion
Congratulations! You’ve unlocked the number 1 secret to making a perfect Rasmalai Cake. By mastering the art of syrup soaking and following this step-by-step guide, you’re well on your way to creating a dessert that’s as impressive as it is delicious. Whether it’s for a festive occasion or a simple family treat, this Rasmalai Cake will undoubtedly be the star of the table. Try it out and share your creation with friends and family—they’ll thank you for it!
Call to Action
Ready to impress with your baking skills? Gather your ingredients and give this recipe a try! Don’t forget to share your experience in the comments below. Tag us on social media with your Rasmalai Cake creations and inspire others to join this sweet journey. Happy baking!
There are no reviews yet. Be the first one to write one.


