How to Make the Perfect Guava Cheesecake: Step-by-Step Guide
Imagine a warm, sunny afternoon, the scent of tropical fruits wafting through the air, and the sound of laughter echoing from the kitchen. As a child, you might remember the joy of family gatherings, where desserts like guava cheesecake stole the show. This creamy, luscious treat combines the unique flavor of guava with the rich texture of cheesecake, creating a dessert that is both refreshing and indulgent. In this guide, you will learn how to make the perfect guava cheesecake, step by step, so you can create your own cherished moments and delight your loved ones with this tropical treat.
Table of Contents
Why Choose Guava Cheesecake?
The Allure of Guava
Guava is a tropical fruit that offers a sweet and slightly tart flavor, making it an excellent choice for desserts. Here are a few reasons why guava cheesecake should be on your dessert menu:
- Unique Flavor: Guava provides a distinct taste that sets it apart from traditional cheesecake flavors. Its tropical notes can transport you to a sunny paradise with every bite.
- Nutritional Benefits: Guavas are rich in vitamins A and C, fiber, and antioxidants. This means you can enjoy a delicious dessert while also benefiting from the nutrients found in this fruit.
- Versatile Dessert: Guava cheesecake is perfect for any occasion, whether it’s a summer barbecue, a holiday gathering, or a cozy family dinner. Its vibrant color and flavor make it a showstopper.
What Makes This Recipe Special?
This guava cheesecake recipe is designed to be easy to follow, ensuring that even beginners can achieve perfect results. Here’s what makes it stand out:
- Creamy Texture: The combination of cream cheese and guava puree creates a smooth, velvety filling that melts in your mouth.
- Easy to Follow: With clear, step-by-step instructions, you’ll feel confident in your baking skills.
- Customizable: You can easily modify this recipe to suit your taste preferences, whether you want to add toppings or experiment with different flavors.
Ingredients for the Perfect Guava Cheesecake
Before you start, gather the following ingredients. Having everything ready will make the process smoother and more enjoyable.
| Ingredient | Quantity |
|---|---|
| Cream cheese | 16 oz |
| Granulated sugar | 1 cup |
| Fresh guava puree | 1 cup |
| Eggs | 3 large |
| Vanilla extract | 1 tsp |
| Graham cracker crumbs | 1.5 cups |
| Unsalted butter | 1/2 cup |
| Lemon juice | 2 tbsp |
Tips for Selecting Ingredients
- Fresh Guavas: Choose ripe guavas for the best flavor. They should be slightly soft to the touch and have a sweet aroma.
- Quality Cream Cheese: Opt for full-fat cream cheese to achieve a rich and creamy texture. Low-fat options may not yield the same results.
- Graham Crackers: Use plain or honey-flavored graham crackers for added sweetness and flavor.
Step-by-Step Instructions to Make Guava Cheesecake
Now that you have your ingredients ready, let’s dive into the step-by-step process of making your guava cheesecake.
Preparing the Crust
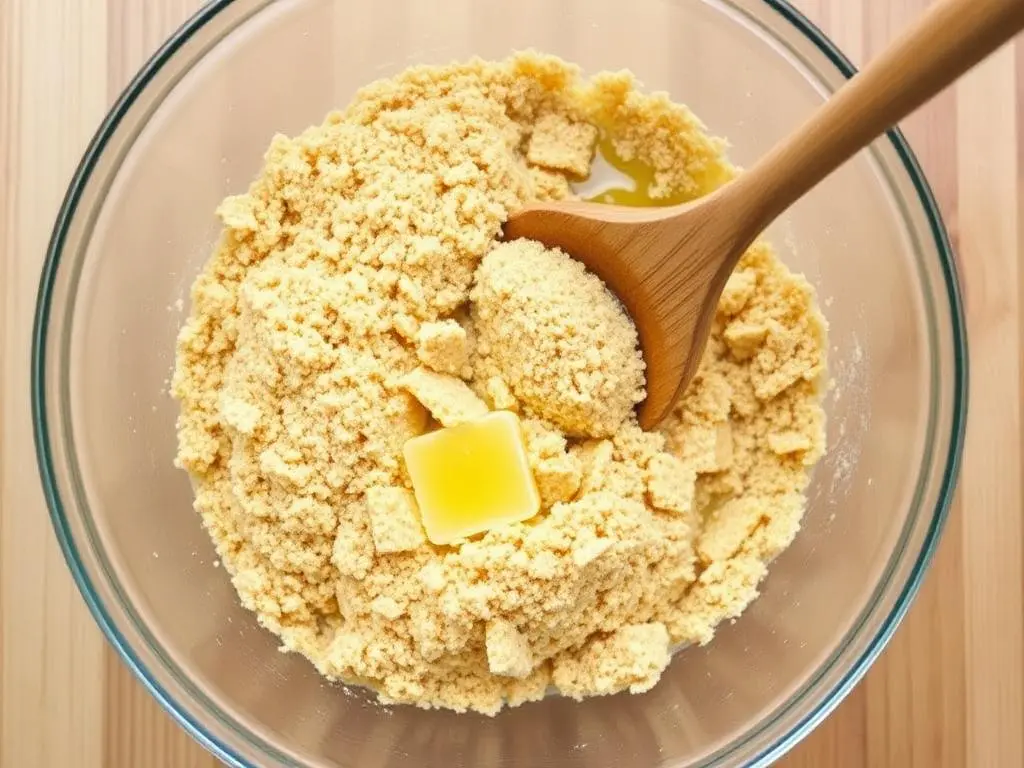
- Crush Graham Crackers: Start by crushing the graham crackers. You can use a food processor for a fine crumb or place them in a ziplock bag and crush them with a rolling pin. Aim for a texture similar to sand.
- Mix with Butter: In a mixing bowl, combine the crushed graham crackers with melted unsalted butter. Mix until the crumbs are well-coated and resemble wet sand.
- Press into Pan: Firmly press the mixture into the bottom of a springform pan. Make sure it’s evenly distributed to create a solid base for your cheesecake. Use the back of a measuring cup to pack it down tightly.
Making the Cheesecake Filling
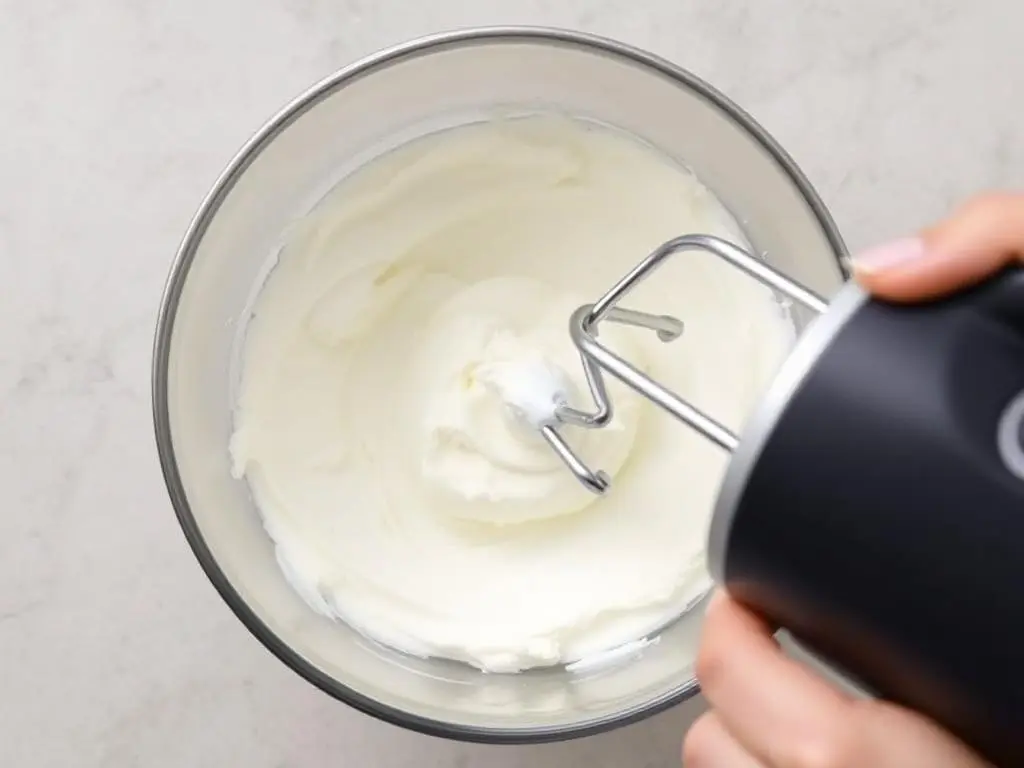
- Beat Cream Cheese: In a large mixing bowl, beat the cream cheese until it’s smooth and creamy. This step is crucial for achieving a lump-free filling.
- Add Sugar and Guava Puree: Gradually mix in the granulated sugar and guava puree. Continue beating until the mixture is well combined and fluffy. The guava puree should be smooth, so if you’re using fresh guavas, make sure to blend them well.
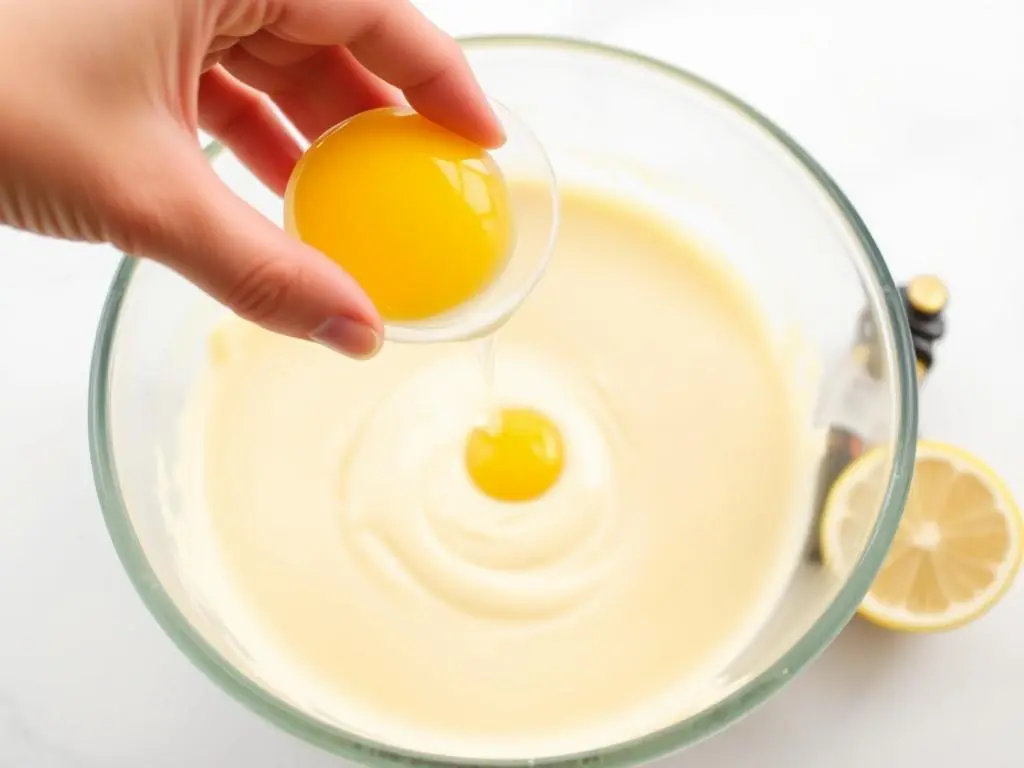
- Incorporate Eggs and Vanilla: Add the eggs one at a time, mixing well after each addition. Stir in the vanilla extract and lemon juice. The lemon juice will enhance the flavor and balance the sweetness of the guava.
Assembling the Cheesecake

- Layer the Filling: Pour the cheesecake filling over the prepared crust in the springform pan. Use a spatula to spread it evenly, ensuring that the filling reaches the edges of the crust.
- Smooth the Top: Gently smooth the top of the filling with the spatula to create an even surface. This will help the cheesecake bake uniformly.
- Bake: Preheat your oven to 325°F (160°C). Place the cheesecake in the oven and bake for 50-60 minutes. The center should be set but still slightly jiggly when you gently shake the pan.
Cooling and Chilling
- Cool in Oven: Once the baking time is up, turn off the oven and leave the cheesecake inside for an additional hour. This gradual cooling process helps prevent cracks from forming on the surface.
- Refrigerate: After an hour, remove the cheesecake from the oven and let it cool to room temperature. Then, cover it and refrigerate for at least 4 hours, or overnight for the best results. Chilling allows the flavors to meld and the texture to firm up.
Final Touches
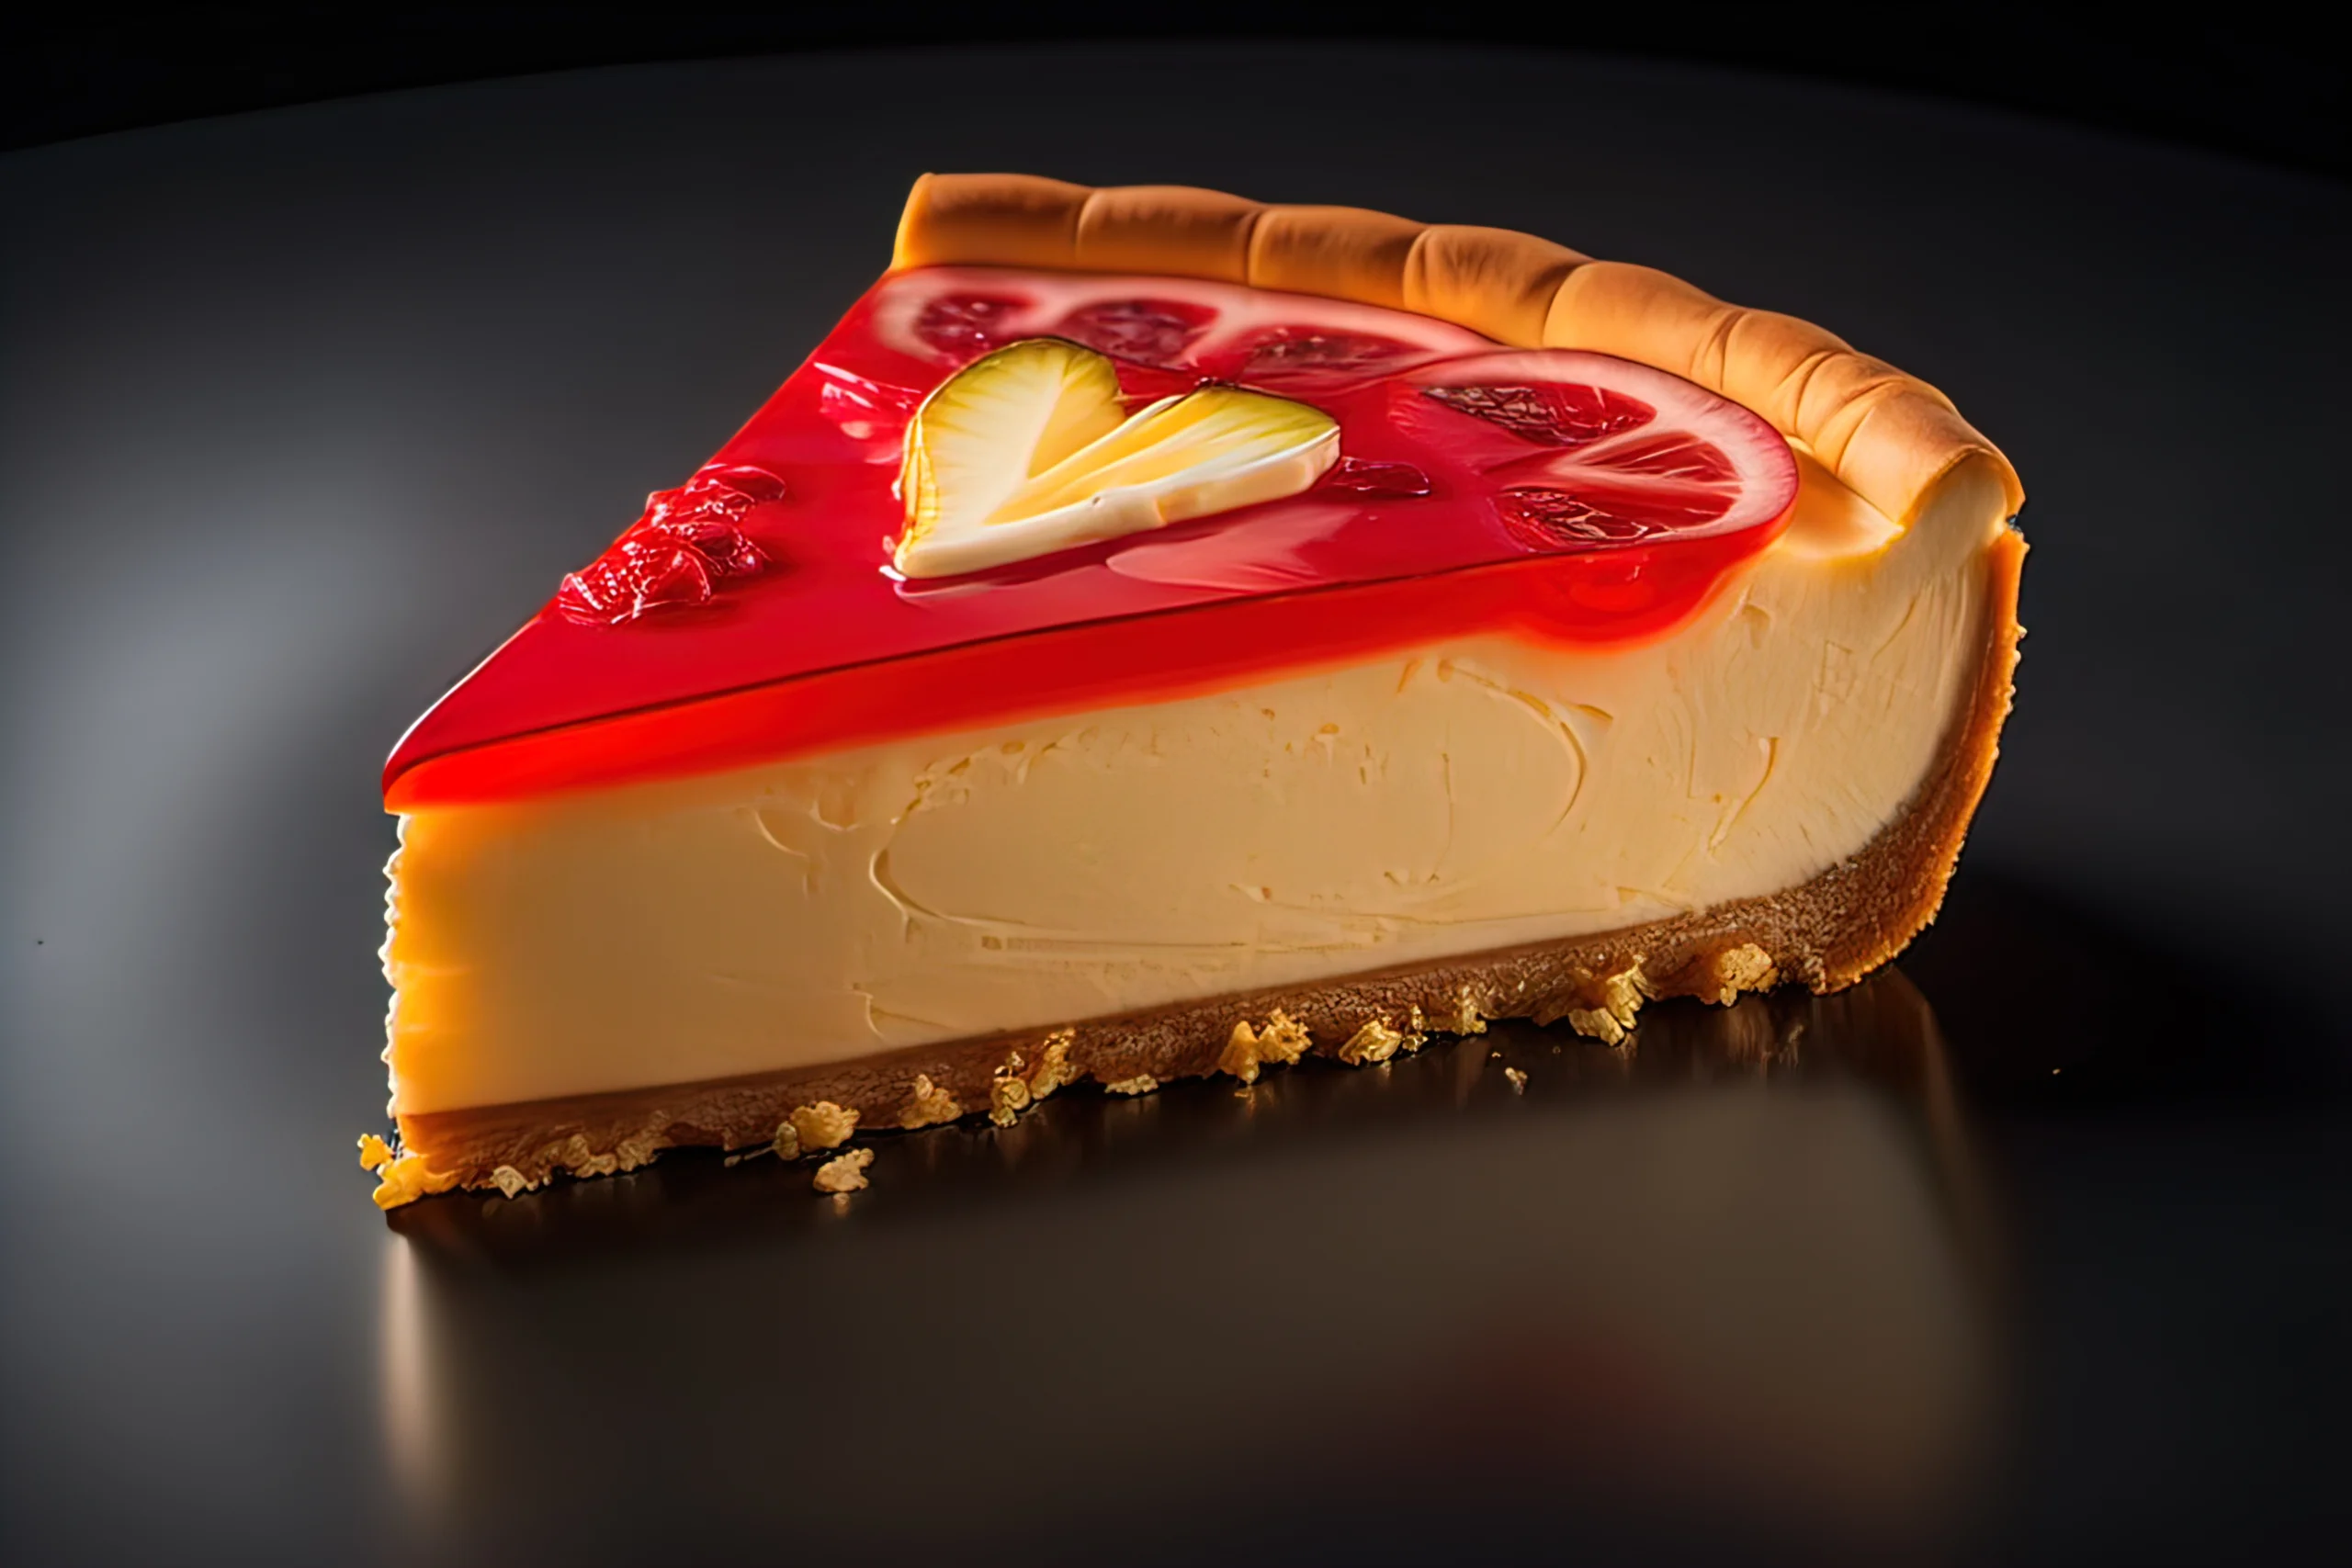
- Garnish: Before serving, consider garnishing your cheesecake with fresh guava slices, whipped cream, or a drizzle of guava glaze. This adds a beautiful presentation and enhances the tropical flavor.
- Slice and Serve: Carefully remove the cheesecake from the springform pan. Use a sharp knife to slice it into wedges. For clean cuts, dip the knife in hot water and wipe it dry between slices.
Tips for Perfecting Your Guava Cheesecake
Common Mistakes to Avoid
- Overmixing: Be cautious not to overmix the batter, especially after adding the eggs. Overmixing can incorporate too much air, leading to cracks in the cheesecake as it bakes.
- Skipping the Cooling Step: Allowing the cheesecake to cool gradually in the oven is essential. This step helps prevent sudden temperature changes that can cause cracks.
Variations and Customizations
- Add Toppings: Get creative with toppings! Consider adding a guava glaze, fresh fruit, or even a sprinkle of toasted coconut for added texture and flavor.
- Flavor Infusions: Experiment with different extracts, such as coconut or almond, to give your cheesecake a unique twist. You can also mix in some lime zest for a zesty kick.
Frequently Asked Questions (FAQ)
What is guava cheesecake?
Guava cheesecake is a delightful dessert that combines the creamy richness of traditional cheesecake with the sweet and slightly tart flavor of guava. It’s a tropical twist on a classic favorite.
Can I use canned guava instead of fresh?
Yes, you can use canned guava, but make sure it’s pureed and well-drained to avoid excess moisture in your cheesecake. Fresh guava typically provides a more vibrant flavor.
How do I store leftover guava cheesecake?
Store any leftover cheesecake in an airtight container in the refrigerator. It will stay fresh for up to 5 days, allowing you to enjoy it over several days.
Can I freeze guava cheesecake?
Absolutely! You can freeze guava cheesecake. Wrap it tightly in plastic wrap and then in aluminum foil to prevent freezer burn. It will last for up to 2 months in the freezer.
Conclusion: Create Your Own Tropical Memories
Making the perfect guava cheesecake is not just about following a recipe; it’s about creating moments that you and your loved ones will cherish. With its unique flavor and creamy texture, this dessert is sure to impress at any gathering. So gather your ingredients, follow this step-by-step guide, and enjoy the delightful experience of baking and sharing this tropical treat. Whether it’s a special occasion or just a sunny afternoon, your homemade guava cheesecake will bring a slice of paradise to your table.
Now that you have all the tools and knowledge to create this delicious dessert, it’s time to get started! Don’t forget to share your guava cheesecake experience with friends and family, and encourage them to try making it themselves. Happy baking!
There are no reviews yet. Be the first one to write one.