Lemon Cookies: Classic Recipe Secret in 5 Steps

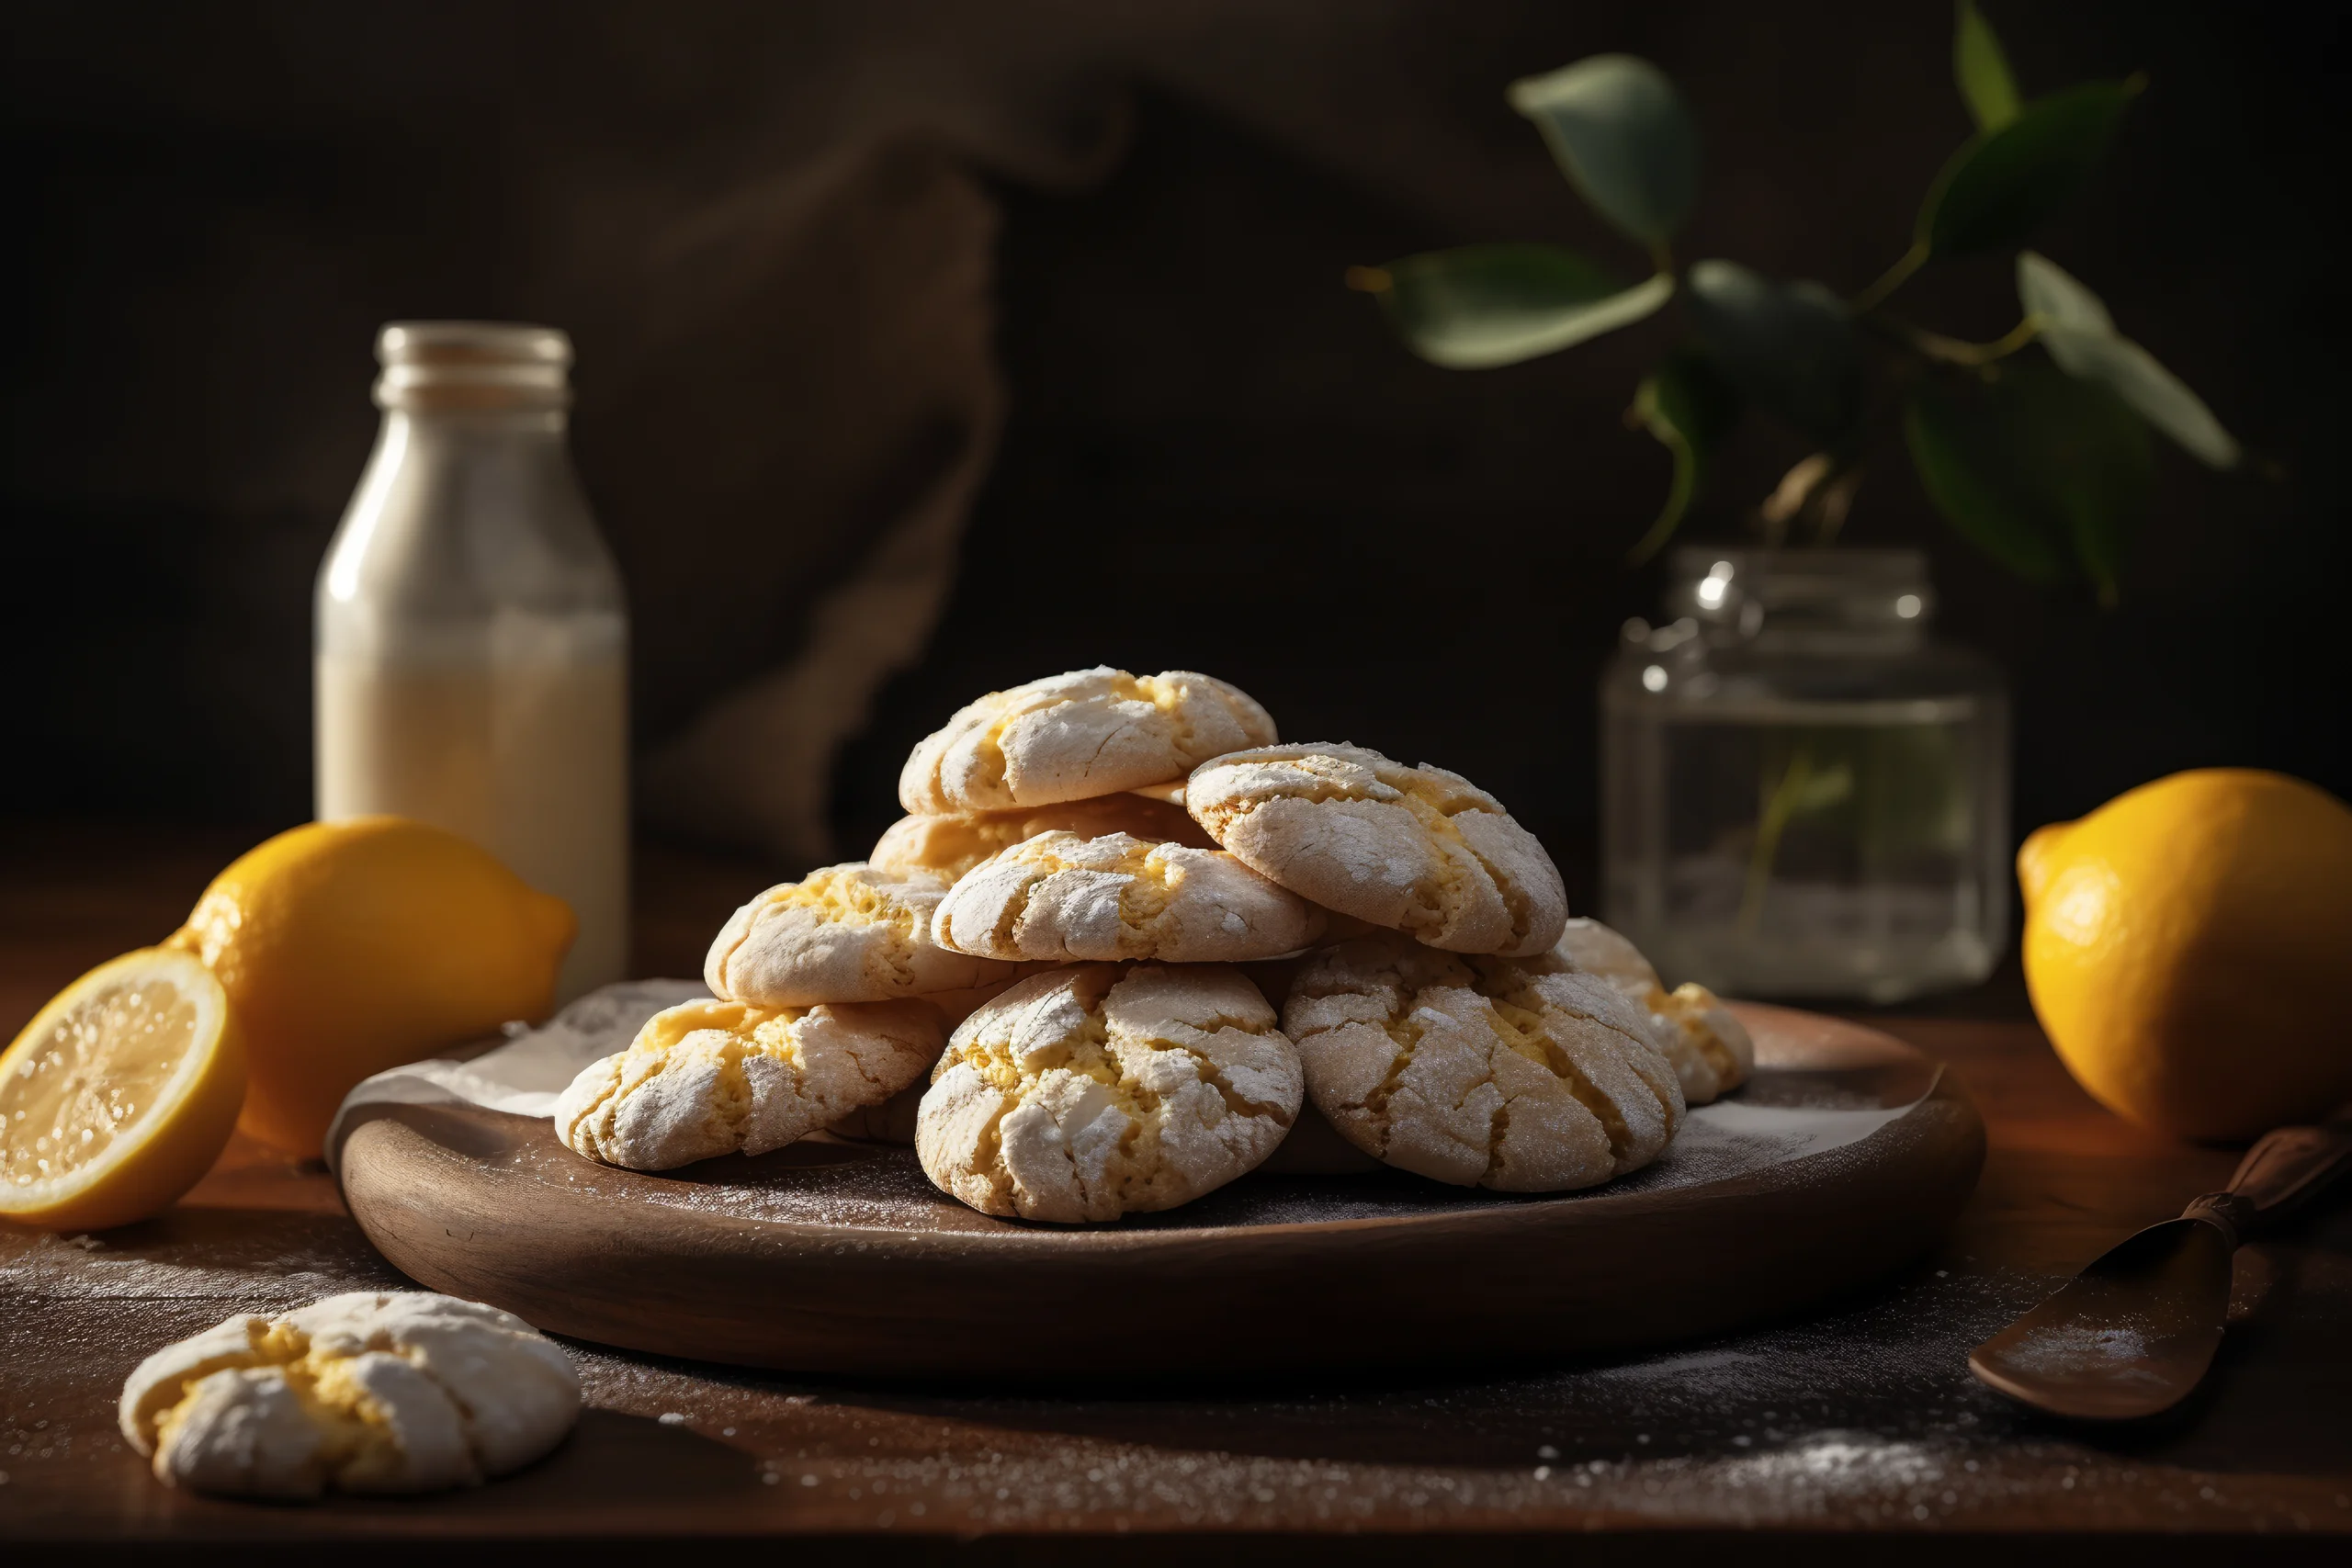
Have you ever caught the scent of freshly baked cookies and felt instantly transported to a place of pure joy? That’s exactly what happens when these lemon cookies come to life in your kitchen. The zesty aroma drifts through the air, promising a perfect balance of sweet and citrus in every bite. These aren’t just any cookies – they’re little circles of sunshine with crispy edges that give way to incredibly soft centers.
Over the years, I’ve perfected her method, breaking it down into five foolproof steps that anyone can master. Whether you’re a complete beginner or a seasoned baker, these steps will guide you to creating cookies that are nothing short of extraordinary. They’re the kind of cookies that disappear first at bake sales, the ones friends beg for the recipe, and the treats that make any ordinary day feel special.
Today, I’m sharing not just a recipe, but a piece of my family’s heritage that has brightened countless gatherings and created countless memories. Are you ready to master the art of perfect lemon cookies? Let’s get started!

Why These Lemon Cookies Will Become Your Family Favorite
Imagine serving cookies that make eyes light up and conversations pause mid-sentence. These lemon cookies deliver just that magic. Their charm lies in their versatility – sophisticated enough for afternoon tea, yet perfectly at home packed in lunch boxes or presented at elegant dinner parties.
These treats strike an impeccable balance between sweetness and citrus tang, creating a flavor profile that keeps you reaching for “just one more.” The exterior offers a subtle crunch that gives way to a tender center, while fresh lemon zest weaves bright notes throughout each bite.
Table of Contents
Essential Ingredients for Perfect Lemon Cookies
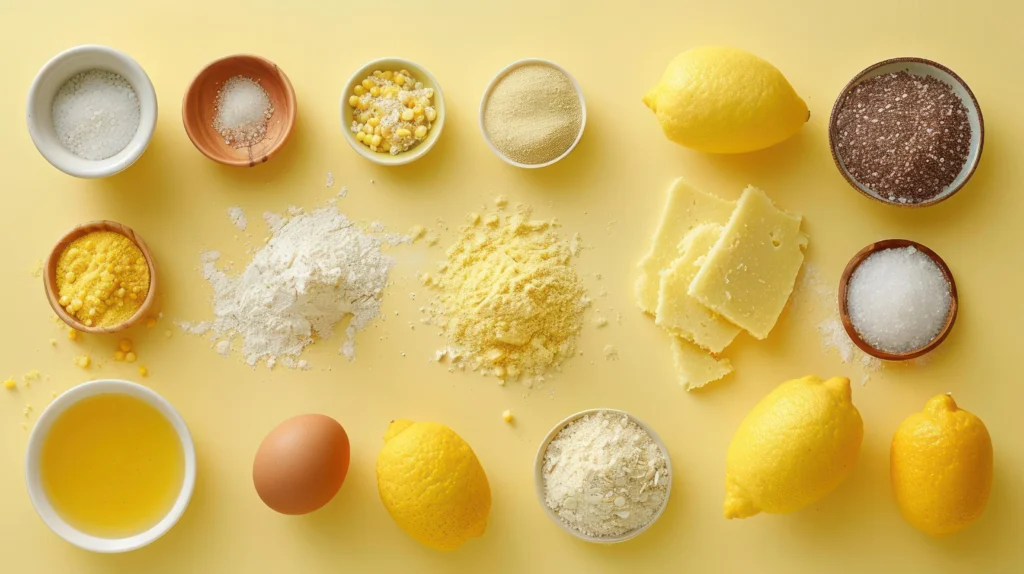
Success begins with quality ingredients. Each component plays a crucial role in creating cookies that don’t just satisfy – they mesmerize.

| Ingredient | Amount | Notes |
|---|---|---|
| All-purpose flour | 2½ cups | Sifted for lightness |
| Fresh lemons | 2-3 medium | Organic preferred for zest |
| Unsalted butter | 1 cup | European-style recommended |
| Granulated sugar | 1½ cups | Plus extra for rolling |
| Eggs | 2 large | Farm-fresh if possible |
| Vanilla extract | 1 tsp | Pure, never artificial |
| Baking powder | 1 tsp | Check expiration date |
| Salt | ¼ tsp | Fine sea salt works best |
Kitchen Tools You’ll Need
Before diving into the baking process, gather these essential tools:
- Stand mixer or hand mixer with paddle attachment
- Microplane or zester for optimal lemon zesting
- Heavy-duty cookie sheets that won’t warp
- Parchment paper for perfect release
- Wire cooling rack for proper texture development
The 5 Steps to Cookie Perfection
Step 1: Preparation and Mise en Place
Success in baking begins long before the first ingredient touches your bowl. Your preparation phase sets the stage for everything that follows.
Start by positioning your oven rack in the middle position and preheating to 350°F (175°C). This temperature sweet spot ensures even baking and that perfect texture we’re after. While your oven warms, line your baking sheets with parchment paper – this step proves invaluable for achieving those perfectly golden bottoms.
Take a moment to organize your workspace. Measure all ingredients ahead of time, setting them out in the order you’ll use them. This French-inspired practice of mise en place transforms your baking from chaotic to choreographed.
Step 2: Creating the Perfect Dough
Here’s where the magic begins. Start with room-temperature butter – this isn’t just a suggestion, it’s crucial for proper creaming. Beat your butter and sugar together for a full 3-4 minutes until the mixture turns noticeably lighter in both color and texture. You’re not just combining ingredients; you’re incorporating air that will give your cookies their perfect structure.
Add your eggs one at a time, allowing each to fully incorporate before adding the next. This patience pays dividends in your final texture. Now comes the star of the show – fresh lemon zest and juice. Zest your lemons directly over the bowl to capture the essential oils that carry intense flavor.
Step 3: Combining Dry Ingredients
Your approach to dry ingredients can make or break your cookies. Whisk your flour, baking powder, and salt together in a separate bowl, ensuring even distribution of leavening agents. Add this mixture to your wet ingredients in three portions, mixing just until combined. Overmixing at this stage leads to tough cookies, and that’s not the goal we’re after.
Step 4: Shaping and Preparing for Baking
Roll your dough into consistent 1½-inch balls – uniformity ensures even baking. Give each ball a gentle roll in granulated sugar, creating that signature sparkle and subtle crunch. Space them two inches apart on your prepared baking sheets; these cookies need room to spread gracefully.
Step 5: Baking and Cooling
Watch for the edges to turn slightly golden while the centers remain pale – this typically takes 12-14 minutes. Remember that cookies continue baking slightly after removal from the oven. Let them rest on the baking sheet for exactly five minutes before transferring to your cooling rack. This timing ensures the perfect balance between set edges and tender centers.
Troubleshooting Common Issues
Even experienced bakers encounter challenges. Here’s how to address common concerns:
If your cookies spread too much: Chill your dough for 30 minutes before baking.
For more lemon intensity: Add an extra teaspoon of zest, not juice.
To prevent excessive browning: Use light-colored baking sheets.
For optimal storage: Cool completely before storing in an airtight container.
Expert Tips for the Perfect Lemon Cookies
- Press your room-temperature butter between your fingers – it should yield easily without being greasy
- Rotate your baking sheets halfway through baking for even results
- Use fresh baking powder – test it in warm water to ensure it bubbles actively
- Zest lemons before juicing them for easier handling
- Let your baking sheets cool completely between batches
Frequently Asked Questions About Lemon Cookies
Q: Can I make these lemon cookies ahead of time?
A: Your dough will happily rest in the refrigerator for up to 24 hours, developing even deeper flavor.
Q: How do I store lemon cookies to keep them fresh?
A: Place them in an airtight container with wax paper between layers, keeping them fresh for five days.
Q: Can I freeze these lemon cookies?
A: Both baked cookies and cookie dough freeze beautifully for up to three months.
Q: What makes these lemon cookies so soft and chewy?
A: The precise ratio of ingredients combined with careful mixing and proper baking time ensures that perfect texture.
Q: Can I use bottled lemon juice instead of fresh lemons?
A: Fresh is best, but in a pinch, use high-quality bottled juice and add extra zest for brightness.
Variations and Creative Twists
Once you’ve mastered the basic recipe, explore these delicious variations:
- Lemon Glazed Version: Drizzle with a mixture of powdered sugar and fresh lemon juice
- Lemon Poppy Seed: Add two tablespoons of poppy seeds to your dry ingredients
- White Chocolate Dipped: Half-dip cooled cookies in melted white chocolate
- Citrus Blend: Incorporate orange or lime zest for a complex flavor profile
Conclusion
You’ve now unlocked the secrets to creating lemon cookies that will become your signature bake. These bright, tender cookies carry the power to transform ordinary moments into memorable occasions. Remember, perfect results come from attention to detail and practice – each batch you make will build your confidence and skill.
Whether you’re baking for family gatherings, holiday celebrations, or simply to brighten someone’s day, these lemon cookies will never disappoint. Their sunshiny flavor and perfect texture make them irresistible year-round.
Ready to start your baking adventure? Tie on your apron, gather your ingredients, and prepare to fill your kitchen with the incredible aroma of freshly baked lemon cookies. Share your creations with us on social media using #LemonCookieMaster, or drop a comment below with your own tips and tricks. Your baking journey starts now – and what a delicious journey it will be!


