Create the Perfect Oreo Ice Cream Cake: A Complete Guide
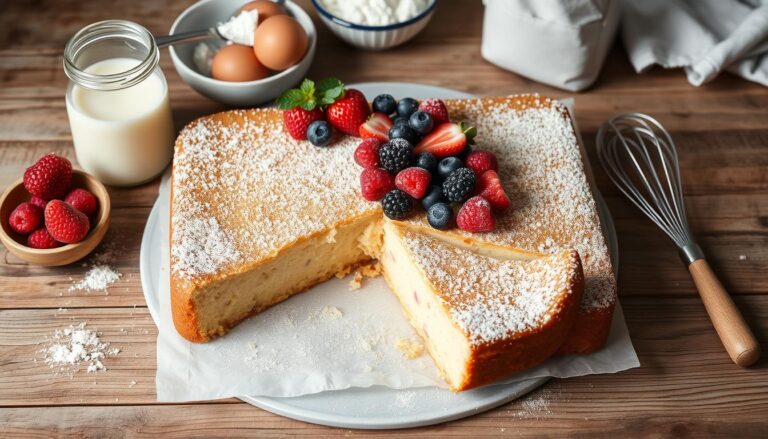
Summer memories are sweet, and nothing beats a homemade Oreo ice cream cake. I recall making this dessert for my nephew’s birthday. His eyes lit up when he saw it. That moment made me want to create the best Oreo ice cream cake for my family.
This guide will show you how to make a stunning Oreo ice cream cake. It’s perfect for impressing your loved ones. You don’t need to be a pro in the kitchen to make this delicious treat. It combines the crunch of Oreos with creamy ice cream.
Table of Contents
Key Takeaways
- Master the art of creating a professional-quality Oreo ice cream cake at home
- Learn essential techniques for layering and freezing your cake
- Discover tips for achieving the perfect texture and flavor
- Save money by making your own restaurant-style dessert
- Create a memorable dessert that impresses guests of all ages
Why Oreo Ice Cream Cake is the Ultimate Summer Dessert
Summer is the perfect time for a delicious dessert, and an Oreo ice cream cake is just right. It mixes the crunch of Oreos with creamy ice cream. This combo makes a refreshing treat that will impress your loved ones.
Benefits of Making Your Own Ice Cream Cake
Making your own Oreo dessert recipes lets you choose what goes in. You can make a stunning Oreo cake with ice cream that’s better than store-bought. The benefits include:
- Full control over ingredients and flavors
- A cheaper option than bakery cakes
- Customizable portion sizes
- Fresher ingredients mean better taste
What Makes Oreo Ice Cream Cake Special
The magic of this dessert is in its texture. The crunchy Oreo base meets the smooth ice cream. This mix creates a sensational summer treat. Every bite is a delightful contrast that makes you want more.
| Ingredient | Quantity | Purpose |
|---|---|---|
| Oreo Cookies | 48 cookies | Crust and topping |
| Ice Cream | ½ gallon | Primary filling |
| Cool Whip | 8 oz | Topping |
Perfect Occasions for Serving
An Oreo ice cream cake is more than a dessert—it’s a celebration centerpiece. It’s perfect for summer events like:
- Backyard barbecues
- Birthday parties
- Family reunions
- Fourth of July celebrations
“Nothing says summer like a cool, creamy Oreo ice cream cake that brings smiles to everyone’s faces!”
Essential Ingredients for Your Oreo Ice Cream Cake
Making an easy Oreo ice cream cake begins with the right ingredients. Your dessert will come to life with a mix of components that taste great.
For your Oreo ice cream cake ideas, you’ll need these key ingredients:
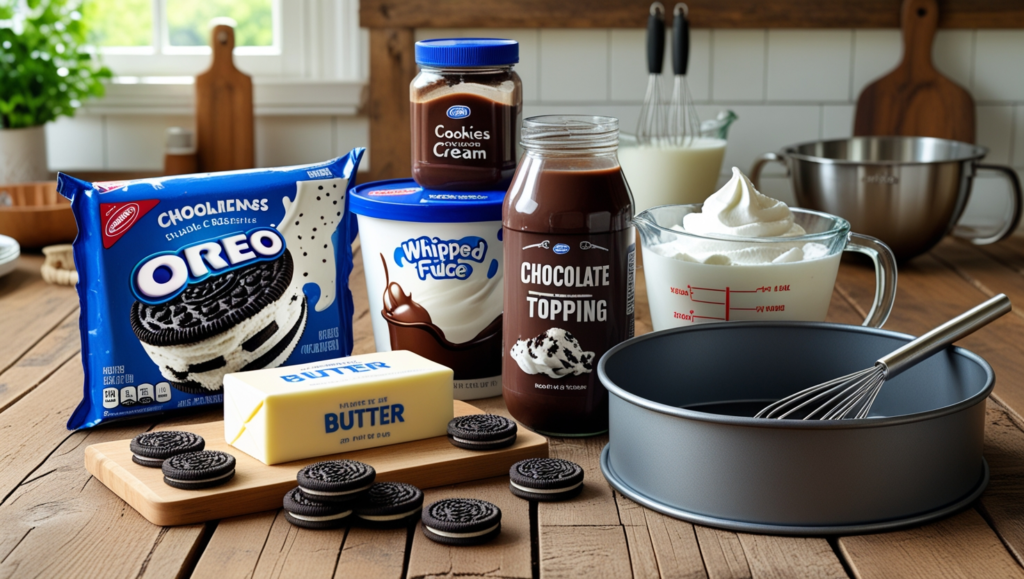
- 19 oz of Oreo cookies (approximately 48 cookies)
- 6-8 tablespoons unsalted butter
- ½ gallon cookies and cream ice cream
- 12 oz fudge sauce
- 8 oz Cool Whip
Let’s look at the essential parts for your easy Oreo ice cream cake:
| Ingredient | Quantity | Purpose |
|---|---|---|
| Oreo Cookies | 19 oz | Crust and decoration |
| Unsalted Butter | 6-8 tablespoons | Binding crust ingredients |
| Cookies and Cream Ice Cream | ½ gallon | Primary cake layer |
| Fudge Sauce | 12 oz | Chocolate layer |
| Cool Whip | 8 oz | Topping |
Pro tip: Make sure all ingredients are at the right temperature before starting. Cold butter makes a perfect crust, and slightly softened ice cream makes layering easier.
“The secret to an amazing Oreo ice cream cake is using fresh, high-quality ingredients and taking your time during preparation.”
Your ingredient list is the start of a spectacular dessert. It will impress family and friends. With these ingredients, you’re ready to make an unforgettable Oreo ice cream cake that’s both delicious and beautiful.
Required Kitchen Tools and Equipment
To make the perfect no-bake Oreo ice cream cake, you need specific kitchen tools. Having the right equipment makes the process easier and more fun.
Essential Utensils for Your Chocolate Oreo Ice Cream Cake
- 9-inch springform pan (recommended for best results)
- Food processor or rolling pin for crushing Oreo cookies
- Offset spatula for smooth layer spreading
- Large mixing bowls
- Measuring cups and spoons
- Electric mixer or whisk
Optional but Helpful Baking Tools
- Ice cream scoop
- Parchment paper
- Kitchen thermometer
- Cake turntable
- Bench scraper
Pan Size and Recommendations
A 9-inch springform pan is the best choice for your no-bake Oreo ice cream cake. It ensures the cake is the right size and easy to remove.
| Pan Type | Recommended Size | Best For |
|---|---|---|
| Springform Pan | 9 inches | Classic Oreo Ice Cream Cake |
| Regular Cake Pan | 8-9 inches | Alternative Option |
| Loaf Pan | 9 x 5 inches | Smaller Batch |
With these tools, you’re ready to make a delicious chocolate Oreo ice cream cake. It will surely impress your family and friends!
Creating the Perfect Oreo Cookie Crust
Making the ultimate oreo ice cream cake starts with a fantastic cookie crust. This crust is the key to a dessert that will leave a lasting impression. It’s a crisp, delicious Oreo cookie base that sets the stage for pure deliciousness.
To make your Oreo cookie crust, you’ll need just a few ingredients:
- 24 whole Oreo cookies
- 1/2 cup unsalted butter, melted
- Springform pan (13×9 inches recommended)
Pro tip: Include the Oreo cream filling when crushing – it adds extra richness to your crust!
The secret to a perfect oreo ice cream cake crust is in the preparation. Here’s how to nail it:
- Crush Oreo cookies until they become fine crumbs
- Mix thoroughly with melted butter
- Press mixture firmly into pan bottom
- Use a glass or measuring cup to compact the crust
“A great crust is the foundation of an extraordinary dessert” – Pastry Chef’s Wisdom
By following these steps, you’ll create a delectable base. This base will make your oreo dessert recipes go from good to absolutely amazing. Your guests will be impressed by the rich, chocolatey foundation that perfectly complements the creamy ice cream layers.
How to Layer Your Oreo Ice Cream Cake
Making a homemade Oreo ice cream cake is an art. It’s about layering and precision. You turn simple ingredients into a stunning dessert that wows everyone.
The Importance of Proper Layering
Layering your oreo cake with ice cream needs patience and skill. Begin with a well-made Oreo cookie crust. For the best results, use:
- 36 crushed Oreo cookies
- 7 tablespoons of unsalted butter
- 25 additional crushed cookies for extra texture
Temperature Control Tips
Temperature is key for layering ice cream cake. Soften your Oreo ice cream for 10-15 minutes at room temperature. Work fast to avoid melting.
| Layer | Details | Freezing Time |
|---|---|---|
| Cookie Crust | 36 crushed Oreos with butter | 7-8 minutes at 350°F |
| First Ice Cream Layer | 1.5 quart Oreo ice cream | 30-60 minutes |
| Fudge Layer | 12 ounces hot fudge sauce | 20-25 seconds microwave softening |
Preventing Ice Crystal Formation
To keep your cake smooth, follow these steps:
- Keep the freezer at a steady temperature
- Open the freezer door less
- Wrap it tightly
- Eat it within a week
“The secret to a perfect ice cream cake is in the layers and the love you put into creating them.”
With the right technique, you’ll make a stunning oreo cake with ice cream. It serves 12-16 people and is sure to impress.
Making the Chocolate Fudge Layer

Making the chocolate fudge layer is key for a top-notch chocolate Oreo ice cream cake. It adds a rich, deep flavor and texture. This turns a simple ice cream cake into a show-stopper.
To make your chocolate fudge layer, you’ll need:
- 1.5 cups of high-quality hot fudge sauce
- 18 Oreo cookies, finely chopped
- A chilled cake base with chocolate ice cream
For a smooth, indulgent fudge layer, start by warming the fudge sauce a bit. This makes it easier to spread. But be careful not to heat it too much, as it can melt your ice cream.
“The secret to a great chocolate Oreo ice cream cake is in the layers of flavor and texture.”
Adding crushed Oreos to the fudge sauce gives it a nice crunch. Spread the fudge mixture over your chocolate ice cream. Try to make it about 1/4 inch thick.
For the best results with your oreo ice cream cake ideas:
- Freeze the fudge layer for 15-30 minutes
- Make sure it’s fully set before adding more layers
- Use a spatula for even distribution
Pro tip: Chill your utensils before spreading the fudge to prevent unnecessary melting.
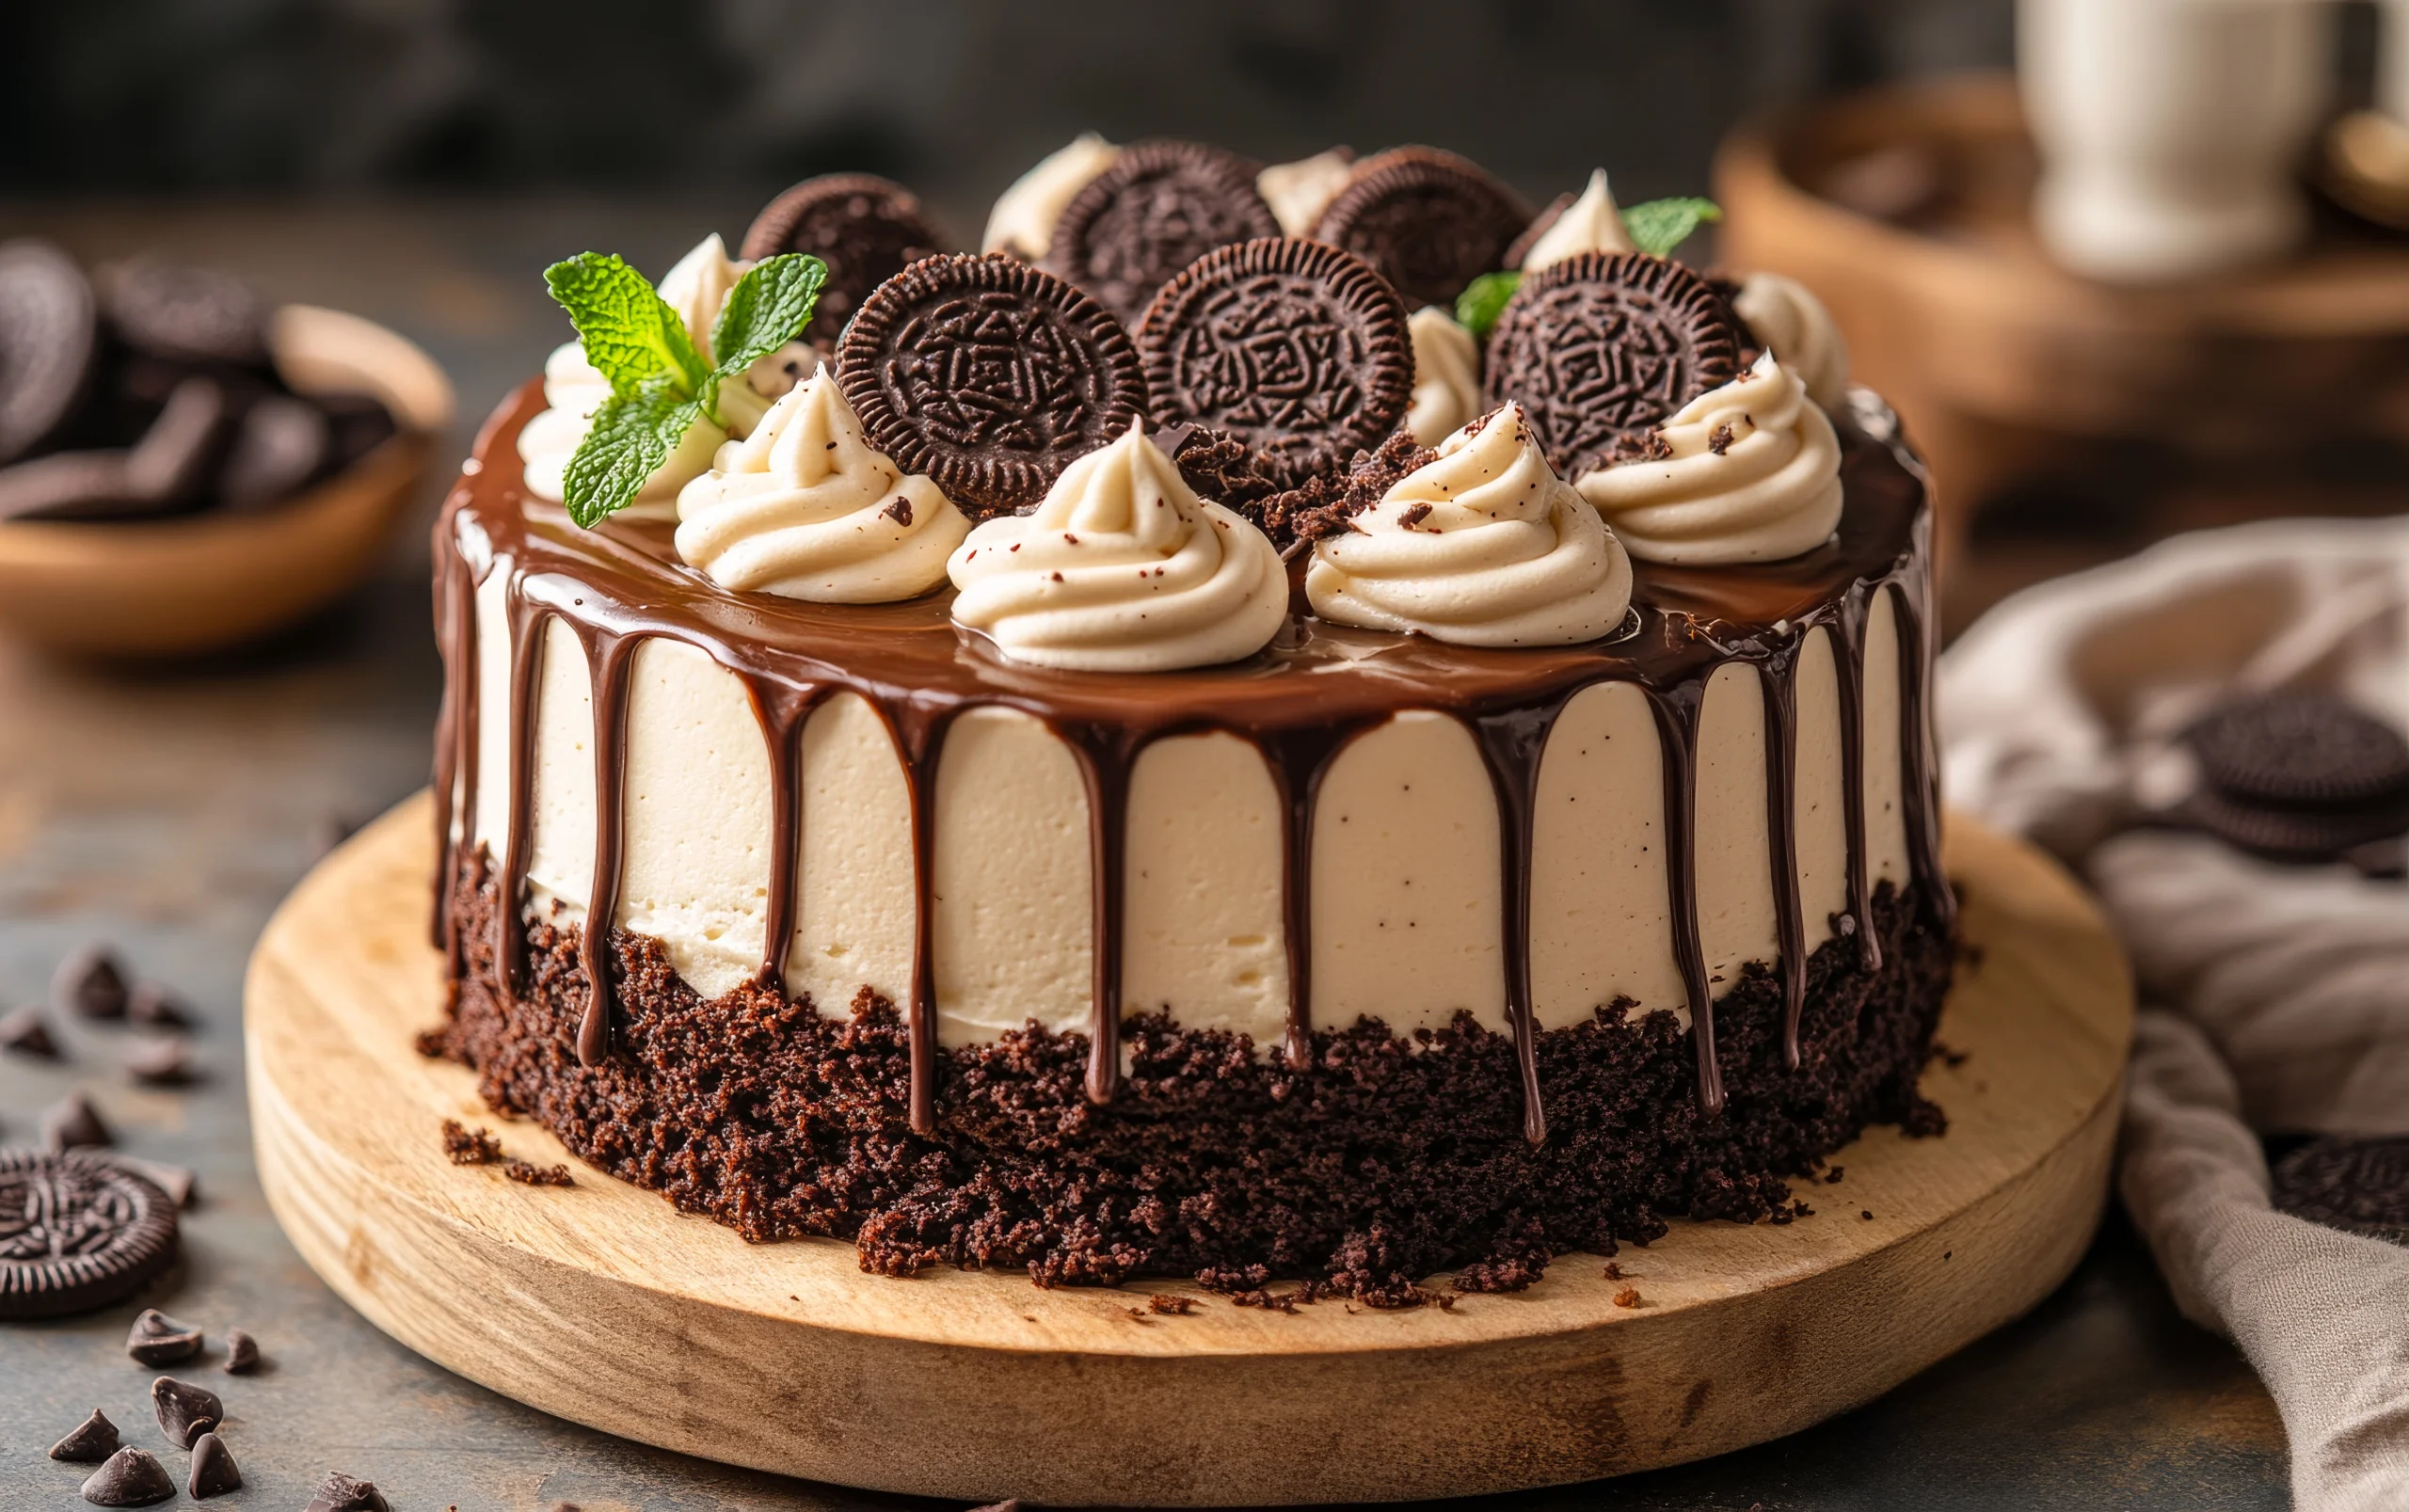
Adding the Whipped Topping and Decorations
The final touch makes your Oreo ice cream cake truly special. It’s all about mastering decorative techniques. These will wow your guests and make their mouths water.
Spread the whipped topping evenly and lightly. For a stunning cake, try these decoration ideas:
- Pipe decorative borders using a star-tipped piping bag
- Sprinkle crushed Oreo cookies strategically across the top
- Drizzle rich chocolate sauce in elegant swirls
- Create rosette patterns around the cake’s edges
Professional Finishing Touches
For a top-notch cake, focus on precision and looks. Use 4 cups of whipped cream, 1/2 cup powdered sugar, and 2 teaspoons of vanilla extract. This will make your cake unforgettable.
“The decoration is not just about looks—it’s about creating an experience that delights all senses.”
Pro tip: Arrange whole Oreo cookies in an artistic pattern, or break them into pieces for a more rustic look. Presentation is crucial for this crowd-pleasing dessert.
Nutritional Garnish Insights
Your decorations add beauty and nutrition to the cake. Each serving has about 360 calories. The whipped topping adds a creamy layer that goes well with the Oreo base.
Freezing and Storage Guidelines
Keeping your no-bake Oreo ice cream cake fresh is key. The right freezing methods can keep it tasty for weeks.

- Freeze it right after you make it
- Wrap it tightly in plastic wrap
- Put it in an airtight container
- Keep the freezer at 0°F (-18°C)
“The key to a perfect Oreo ice cream cake is in its storage and preservation.”
Your no-bake Oreo ice cream cake can stay in the freezer for up to 3 months. For the best taste and texture, eat it within the first month.
| Storage Detail | Recommendation |
|---|---|
| Maximum Freezer Storage | 3 months |
| Optimal Consumption Window | First 30 days |
| Recommended Wrapping | Plastic wrap + Airtight container |
| Pre-Serving Thaw Time | 10-15 minutes |
Before you slice, let the cake thaw for 10-15 minutes. This makes it easier to cut and serve.
- Always use a sharp knife
- Run knife under hot water between cuts
- Serve immediately after slicing
Proper storage is the secret to keeping your Oreo ice cream cake delicious!
Tips for Serving and Cutting Your Ice Cream Cake
Serving an Oreo ice cream cake needs some finesse. It’s important for birthdays or just trying new desserts. Learning to slice it right will make it look amazing.
Perfect Slicing Techniques
To get perfect slices, follow these steps:
- Take the cake out of the freezer 10-15 minutes before serving
- Use a sharp knife that’s been dipped in hot water for clean cuts
- Wipe the knife dry between each slice to prevent crumbling
- Try for smooth, even slices that are about 1-inch thick
Optimal Serving Temperature
Temperature is key when serving your ice cream cake. Let it sit at room temperature for about 10 minutes. This makes it easier to cut without falling apart.
“The secret to a perfect slice is patience and the right temperature.” – Dessert Expert
Remember, your ice cream cake has a short time to serve. You have 20-25 minutes before it gets too soft. After cutting, put any leftover cake back in the freezer fast to keep it right.
Serving Tips for Success
To keep your ice cream cake looking great:
- Chill your serving plate for 30 minutes before plating
- Work quickly when slicing and serving
- Keep additional ice packs nearby if transporting
- Enjoy within 7 days for the best taste and texture
Pro tip: For birthday celebrations, add personalized decorations just before presenting the cake to create a memorable moment.
Creative Variations and Flavor Combinations

Make your Oreo cake with ice cream even better by trying new flavors. With over 50 Oreo flavors, you can make your cake truly unique. It’s a fun way to mix things up and impress your guests.
Here are some tasty flavor combinations to try:
- Mint Chocolate Chip Delight: Mix mint chip ice cream with classic Oreos for a cool twist
- Cookie Dough Extravaganza: Add chocolate chip cookie dough ice cream for an extra treat
- Fruity Fusion: Use strawberry or raspberry ice cream for a bright summer dessert
- Holiday Special: Make themed cakes with ice cream layers in holiday colors
Need something for special diets? Here are some options:
- Gluten-free Oreos for those who can’t have gluten
- Low-fat or Greek yogurt ice cream for healthier choices
- Dairy-free ice cream for those who can’t have lactose
“Creativity is the key to an unforgettable dessert experience!” – Dessert Enthusiast
Pro tip: Add fresh fruit like strawberries or blueberries to your cake. Sprinkle chopped nuts on top for crunch and nutrition.
Conclusion
Making a homemade Oreo ice cream cake might seem hard at first. But now, you know how to make this tasty dessert. Just 10 minutes of prep and some freezing time can turn simple ingredients into a show-stopping treat.
This easy Oreo ice cream cake is super versatile. You can try different ice cream flavors and add toppings like caramel or nuts. You can even make it for special diets by using gluten-free cookies or dairy-free ice cream. Every time you make it, you’ll get better at baking.
The secret to a great homemade Oreo ice cream cake is patience and creativity. Take your time with each layer and let it freeze properly. Don’t be shy to make it your own. It’s perfect for birthdays, barbecues, or just when you want something sweet.
So, get your springform pan ready, collect your Oreos, and become the dessert star in your kitchen. Your ice cream cake journey begins now!