How to Make Rice Krispie Treat Recipe for a Sweet Treat
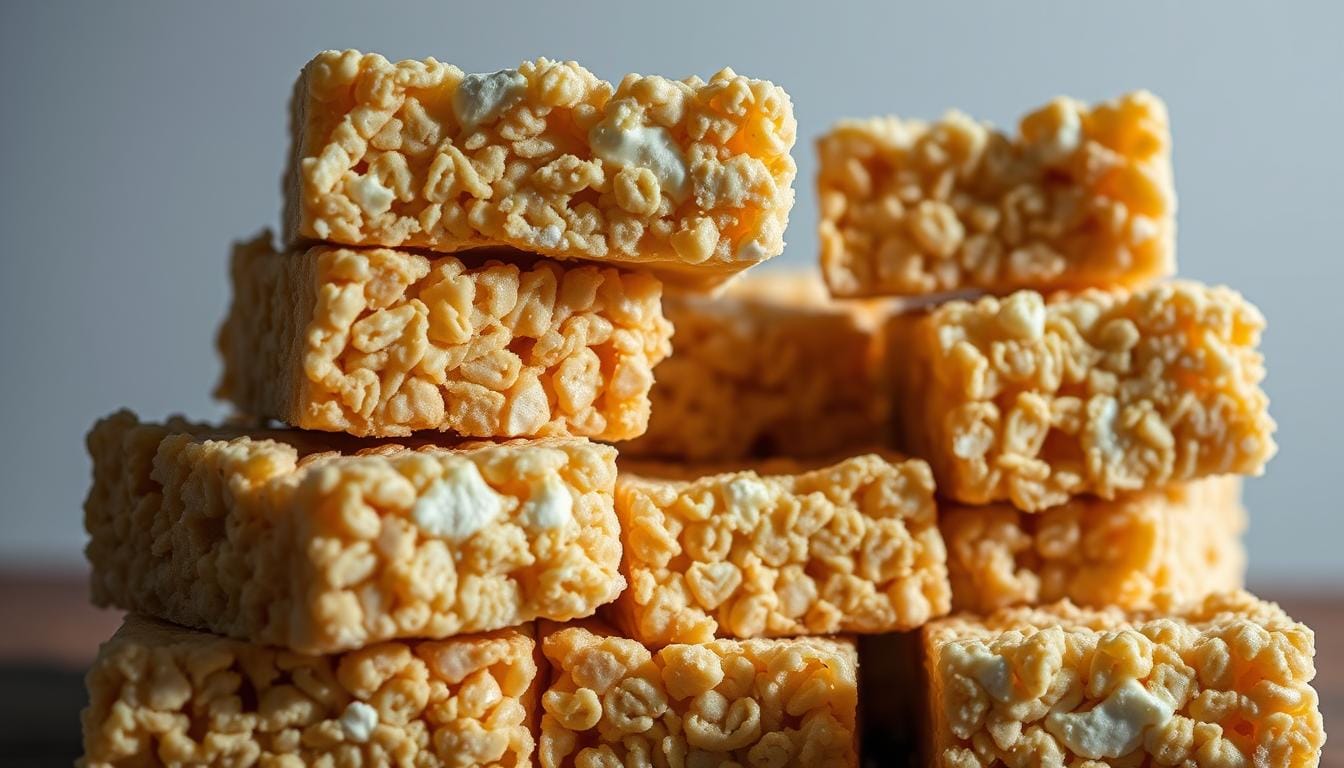
There’s something undeniably special about a perfectly crafted rice krispie treat recipe. Whether you’re a parent making a batch for your kids or an adult revisiting a childhood favorite, these chewy, golden bars bring instant joy.
So, let’s get started on this journey to creating the ultimate Rice Krispie treats. With these simple steps and a few expert tips, you’ll be on your way to making memories—and deliciousness—that your family and friends will love.
Key Takeaways
- Master the ideal marshmallow-to-cereal ratio for the perfect texture.
- Learn how to customize your treats with mix-ins and creative flavors.
- Discover tips for achieving chewy, bakery-quality results at home.
- Understand the importance of using fresh ingredients for the best taste.
- Find out how to store your treats to keep them fresh for days.
Table of Contents
Introduction to Classic Rice Krispie Treats
For generations, Rice Krispie treats have held a special place in the hearts of many. These beloved bars evoke memories of childhood parties, family gatherings, and quick after-school snacks. Their timeless appeal lies in their simplicity and the joy they bring to both kids and adults.
Essential Ingredients and Tools for Success
Crafting the perfect batch of chewy, golden bars requires more than just a few random ingredients. The right mix of high-quality components and essential tools will elevate your creations from ordinary to extraordinary.
Must-Have Ingredients
- Miniature Marshmallows: Fresh ones are a must for the best texture. Stale marshmallows can make your treats too dense or crumbly.
- Unsalted Butter: Adds richness and helps bind the ingredients together. Salted butter works too, but you might need to adjust the seasoning slightly.
- Crispy Cereal: The star of the show! It gives that signature crunch and structure to your bars.
- Vanilla Extract: A hint of vanilla enhances the flavor without overpowering the other ingredients.
Essential Kitchen Tools and Prep Tips
To ensure a smooth process, gather these tools beforehand:
- A Large Pot: For melting the marshmallows and butter to the perfect consistency.
- A 9×9-Inch Pan: Lined with parchment paper for easy release and even cooling.
- Measuring Cups: Precision is key to maintaining the ideal balance of ingredients.
Grease your pan lightly and have all your ingredients ready before you start. This will make the process stress-free and enjoyable.
Getting Started: Preparing Your Pan and Workspace
Before diving into the mixing process, it’s essential to set up your workspace and pan properly. A well-prepared environment ensures that your Rice Krispie treats will release smoothly and look their best.
Lining Your Pan with Parchment or Foil
To make removal easy, line your pan with parchment paper or aluminum foil. Create an overhang on the sides for easy lifting. This step prevents sticking and makes cleanup a breeze.
Greasing Techniques for Easy Release
Lightly grease the pan with cooking spray or melted butter. This ensures your treats won’t stick, making the release effortless. A smooth base is key for even texture.
- Line your pan with parchment or foil, leaving overhang for easy removal.
- Grease lightly to prevent sticking and ensure smooth release.
- Prepare your tools and ingredients before starting to mix.
- Maintain room temperature for optimal mixing and preparation.
A well-prepared workspace and pan are the foundation for perfect treats. Take the time to set up correctly, and you’ll enjoy a smooth, even base every time.
Step-by-Step Rice Krispie Treat Recipe
Creating the perfect Rice Krispie treats is all about timing and technique. Follow these simple steps to ensure your batch turns out chewy and delicious every time.
Melting Marshmallows and Butter
Start by melting 3/4 cup of unsalted butter in a large pot over medium-low heat. Add 32 oz of marshmallows, stirring occasionally until they’re completely melted and the mixture is smooth. Be careful not to overheat, as this can make the treats tough.
Mixing Ingredients and Coating the Cereal
Reduce the heat to low and stir in 1/2 teaspoon of kosher salt and 1 teaspoon of vanilla extract. Quickly add 12 cups of crispy cereal, stirring until it’s evenly coated. Fold in 3 cups of mini marshmallows for an extra gooey texture.

Transfer the mixture to a prepared 9×9-inch pan lined with parchment paper. Press it down firmly to ensure it sets evenly. Let it cool for 30 minutes before cutting into bars.
| Step | Ingredient | Action |
|---|---|---|
| 1 | Butter & Marshmallows | Melt over low heat |
| 2 | Salt & Vanilla | Stir in gently |
| 3 | Cereal | Mix until coated |
| 4 | Mini Marshmallows | Fold in quickly |
| 5 | Mixture | Press into pan |
Tips for Achieving the Perfect Texture
Achieving the perfect balance of softness and chewiness in your Rice Krispie treats is easier than you think. The key lies in how you handle the mixture and control the temperature during preparation.
Balancing Softness and Chewiness
Softness and chewiness are the hallmarks of a perfectly made treat. To achieve this, it’s crucial to avoid overmixing the ingredients. Overmixing can lead to a tough or sticky texture, which can ruin the entire batch. Instead, mix the marshmallows and cereal just until they are evenly coated. This ensures that each piece retains its softness while maintaining a pleasant chewiness.
Letting the mixture cool at room temperature is another essential step. This allows the treats to set properly without becoming too hard. Placing the pan in a cool, dry place helps maintain the perfect balance between softness and chewiness. Avoid refrigerating the mixture, as this can cause the treats to become overly firm and lose their desirable texture.
Controlling the temperature during mixing and setting is also vital. Marshmallows can crystallize if the mixture gets too hot or cools down too quickly, leading to a gritty texture. To prevent this, melt the marshmallows and butter over low heat, stirring constantly. Once the mixture is ready, pour it into the prepared pan and let it cool naturally at room temperature.
Gentle handling is key when pressing the mixture into the pan. Lightly spray your hands with cooking spray to prevent sticking, and press the mixture evenly. Avoid applying too much pressure, as this can cause the treats to become dense and hard.
| Tip | Action | Benefit |
|---|---|---|
| Avoid Overmixing | Mix until just combined | Prevents tough texture |
| Cool at Room Temperature | Let mixture set naturally | Maintains softness |
| Control Temperature | Melt on low heat | Prevents crystallization |
| Gentle Handling | Press lightly with sprayed hands | Ensures even texture |
Remember, the texture is what makes these treats irresistible. By following these tips, you’ll ensure every bite is perfectly soft and chewy, keeping everyone coming back for more.
Creative Enhancements and Customizations
Take your dessert game to the next level with these creative ideas! Whether it’s a special occasion or just a minute of fun in the kitchen, these enhancements will make your bars stand out.
Festive Twists and Candy Mix-ins
Add some seasonal flair to your dessert. For fall, try mixing in candy corn or caramel bits. During the holidays, crushed peppermint candies can give your bars a refreshing twist. Even nuts like peanuts or almonds add a satisfying crunch. The key is to have fun and experiment with what you love!
Consider using themed candies for different occasions. For example, heart-shaped sprinkles for Valentine’s Day or pastel colors for Easter. These small touches make your dessert feel extra special and personalized.
Delicious Chocolate Drizzle Variations
A simple drizzle of melted chocolate can transform your dessert into a gourmet treat. Try using white chocolate for a sweet contrast or semi-sweet chocolate for a richer flavor. Melt the chocolate in a double boiler or in the microwave in short bursts until smooth.
Once melted, drizzle the chocolate over the cooled bars. You can also sprinkle chopped nuts or shredded coconut on top before the chocolate sets for added texture. This step takes just a few minutes but makes a big impact.
Don’t stop at cereal! Swap it with granola or even Cheerios for a different crunch. You can also add a layer of frosting on top or serve the bars in elegant dessert bars with fresh fruit. The possibilities are endless, so don’t be afraid to get creative and make the dessert your own!

Cooking Safety and Temperature Tips
Cooking with marshmallows and butter requires careful attention to temperature to ensure safety and the best results. Maintaining low heat is crucial to prevent burning and achieve a smooth texture.
Avoiding Overheating and Overcooking Marshmallows
Marshmallows can easily become too hot and cause the mixture to burn, leading to a dense texture. To avoid this, melt the butter and marshmallows over low heat, stirring occasionally. This gentle approach ensures even melting without overheating.
- Use low heat to prevent burning delicate ingredients like marshmallows.
- Stir the mixture occasionally to ensure even melting and avoid hot spots.
When handling hot mixtures, use a spatula and keep a safe distance to prevent splatters. This helps avoid burns and makes the process safer.
- Stir gently to prevent splatters and burns.
- Use a spatula to handle the hot mixture safely.
Monitoring the temperature is important to prevent overcooking. Marshmallows that are overheated can crystallize, making the treats gritty. Keep the heat low and stir constantly to maintain control.
- Monitor the temperature closely to avoid overcooking.
- Use a thermometer if possible to keep track of heat levels.
Gentle handling is key when pressing the mixture into the pan. Lightly spray your hands with cooking spray to prevent sticking and ensure an even texture.
- Press the mixture gently to avoid compacting it too much.
- Use cooking spray on your hands to prevent sticking and ensure a smooth surface.
Proper cooling is essential for texture. Let the mixture cool naturally at room temperature to set properly. Avoid refrigerating, as it can make the treats too hard.
- Let the mixture cool at room temperature for the best texture.
- Avoid refrigerating to prevent the treats from becoming too firm.
Safety and precision are essential for successful results. By following these tips, you can create delicious treats without injury or mishaps. Proper temperature control and gentle handling ensure a perfect texture every time.
Serving Suggestions for Parties and Gatherings
Make your Rice Krispie treats the star of your next event! Arrange them on decorative platters or cut them into elegant bars for a polished look. For a creative touch, add a drizzle of chocolate or sprinkle with colorful toppings before serving.
| Storage Method | Duration | Tips |
|---|---|---|
| Airtight Container | Up to 3 Days | Keep at room temperature, away from direct sunlight. |
| Freezer | Up to 6 Weeks | Wrap tightly in plastic wrap or aluminum foil. Thaw at room temperature before serving. |

With these storage and serving tips, you can enjoy your Rice Krispie treats for days while impressing your guests with their presentation and freshness. Experiment with different serving styles to make each treat as visually appealing as it is delicious!
Troubleshooting Common Issues and Adjustments
Even with the best recipes, things don’t always go as planned. Whether your bars turn out too sticky, hard, or overly dense, there are simple fixes to save the day. Let’s explore common issues and how to adjust for perfect results every time.
Fixing Sticky or Overmixed Treats
Sticky or dense bars often result from overmixing or overheating. To fix this, try re-melting part of the mixture on low heat, then gently folding it back in. This helps restore the ideal texture without overworking the ingredients.
- If the mixture is too sticky, add a small amount of cereal or a handful of mini marshmallows to balance it out.
- For hard bars, microwave a small portion for 5-10 seconds to soften, then mix back in gently.
- A light drizzle of white chocolate or chocolate can mask minor imperfections and add flavor.
| Issue | Solution | Benefit |
|---|---|---|
| Sticky Mixture | Add cereal or mini marshmallows | Restores balance and texture |
| Hard Bars | Microwave for 5-10 seconds | Softens without overheating |
| Minor Imperfections | Drizzle with chocolate | Masks issues and enhances flavor |

With these tips, you can adjust and perfect your bars every time. Practice makes perfect, so don’t be discouraged if it takes a few tries to get it just right!
Conclusion
With these simple steps and expert tips, you’re ready to create timeless treats that bring joy to everyone. From the initial preparation with vanilla and salt to the final touches using parchment paper, every detail ensures a delicious outcome.
Quality ingredients like fresh marshmallows and crispy cereal are essential for the perfect texture. Lightly greasing the pan with butter and lining it with parchment paper ensures easy removal and a smooth finish.
Don’t be afraid to experiment! Add mix-ins like chocolate chips or nuts to make your treats unique. The vanilla flavor can be enhanced with a pinch of salt, balancing the sweetness perfectly.
We’d love to hear about your experiences! Share your stories and photos of your creations. Whether you’re a seasoned pro or a first-time maker, your journey with this classic make rice krispie recipe is a story worth telling.
Remember, the joy of make rice krispie treats lies in sharing them. Each batch is more than just a dessert—it’s a way to connect and create lasting memories with your loved ones. Happy crafting!